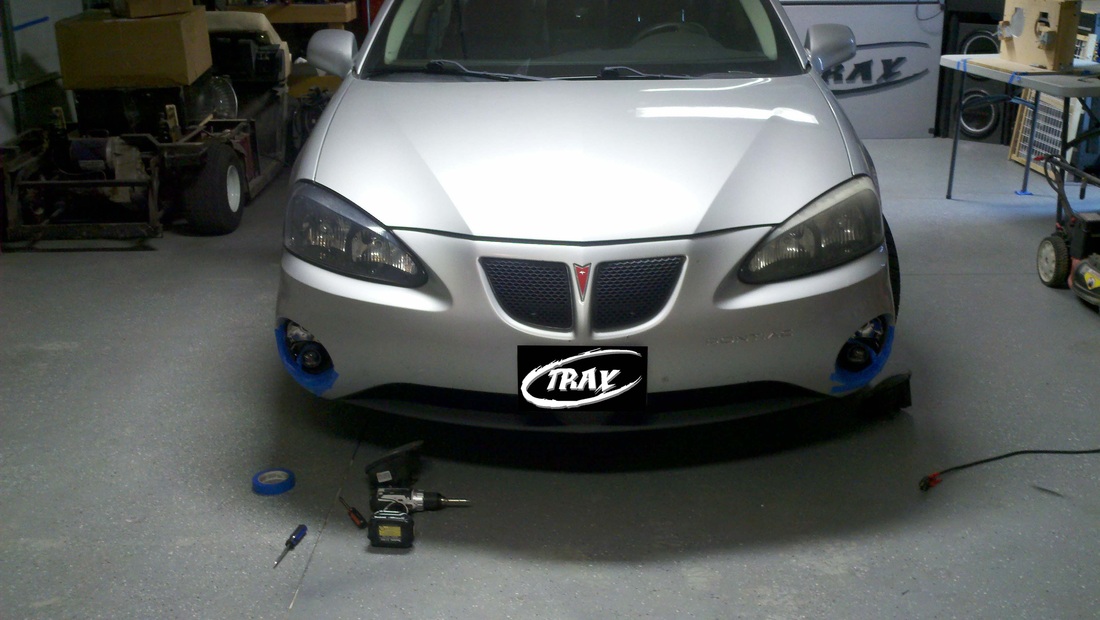
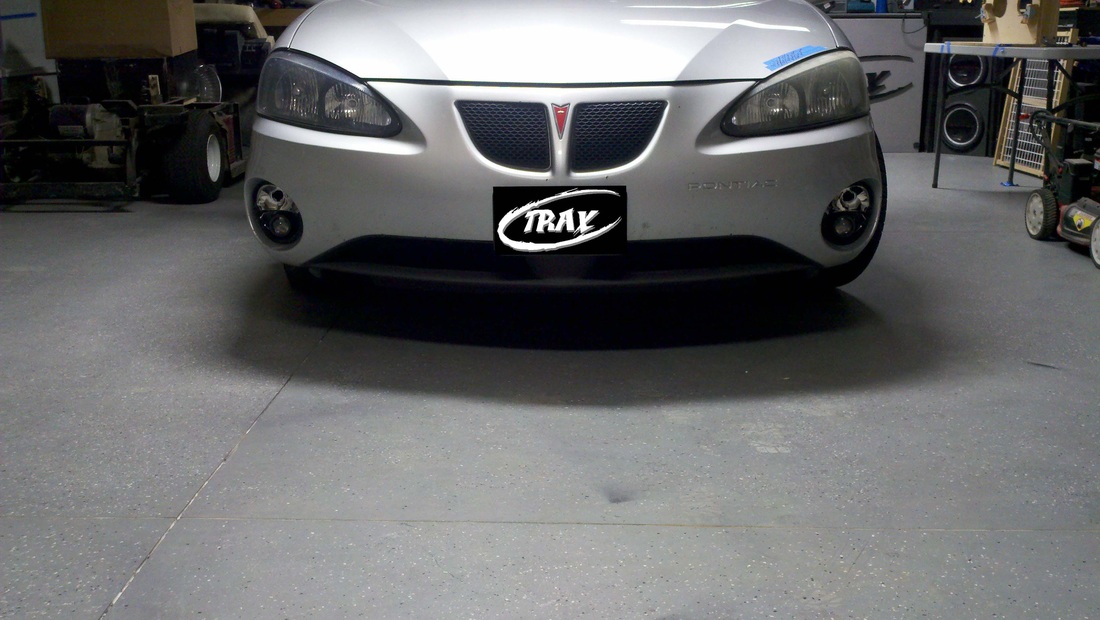
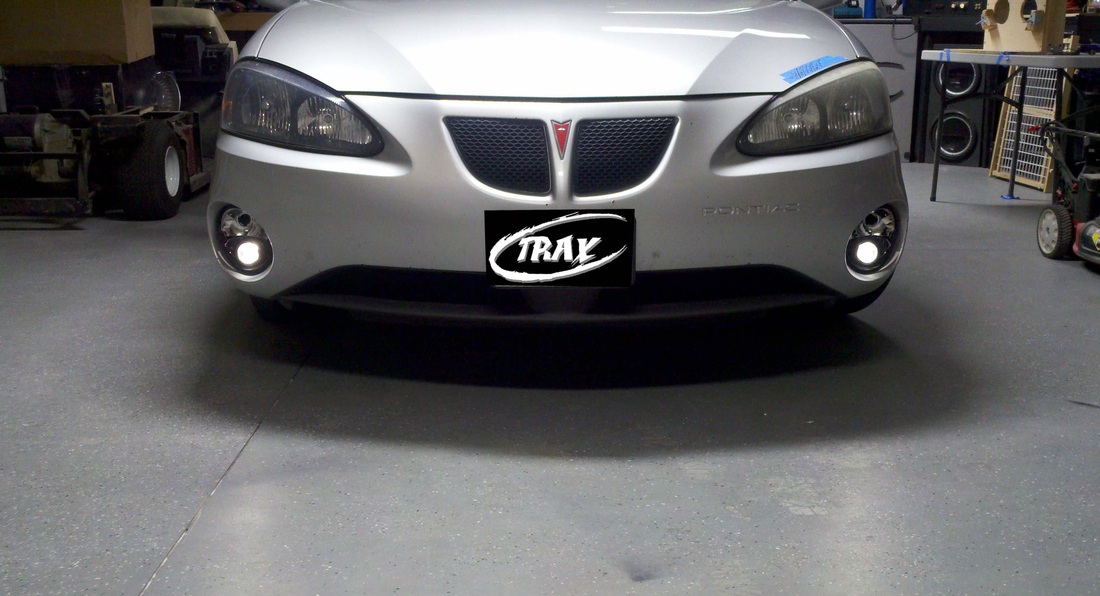
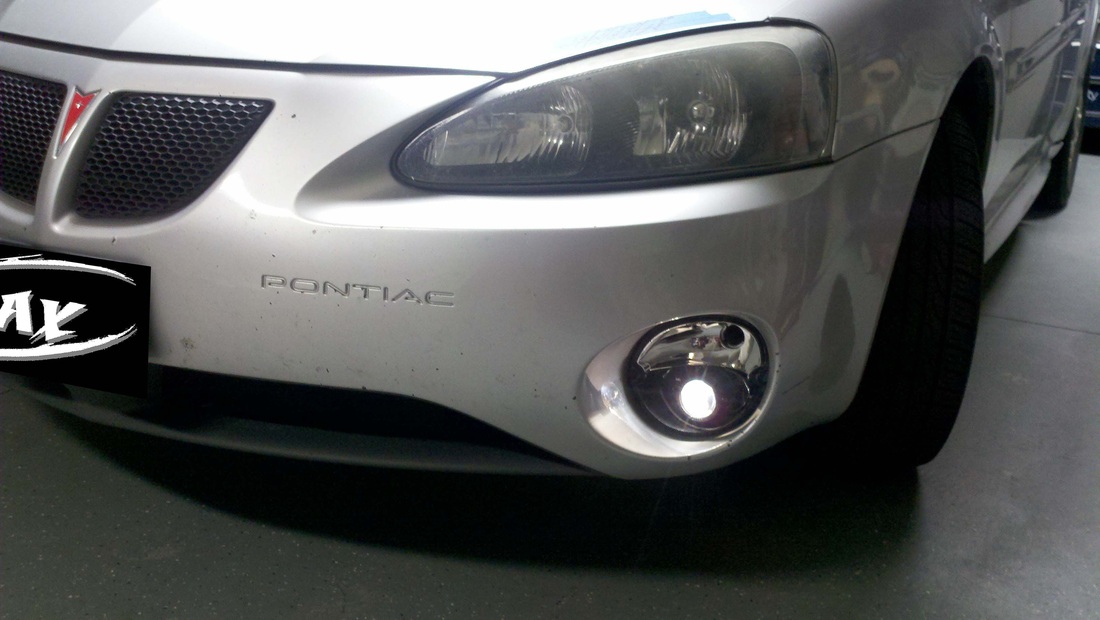
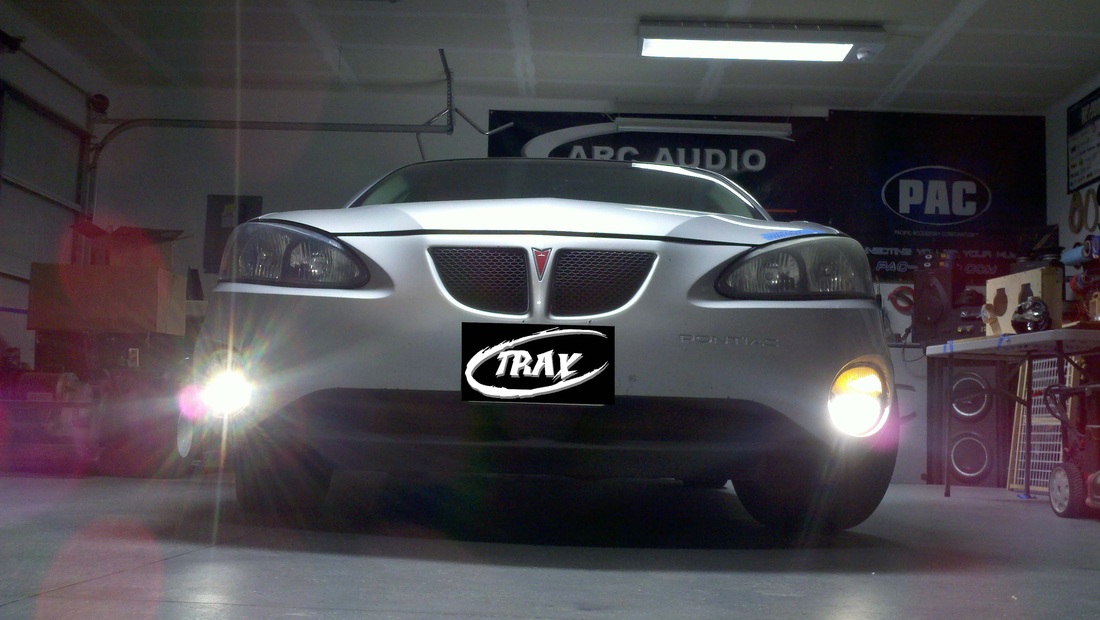
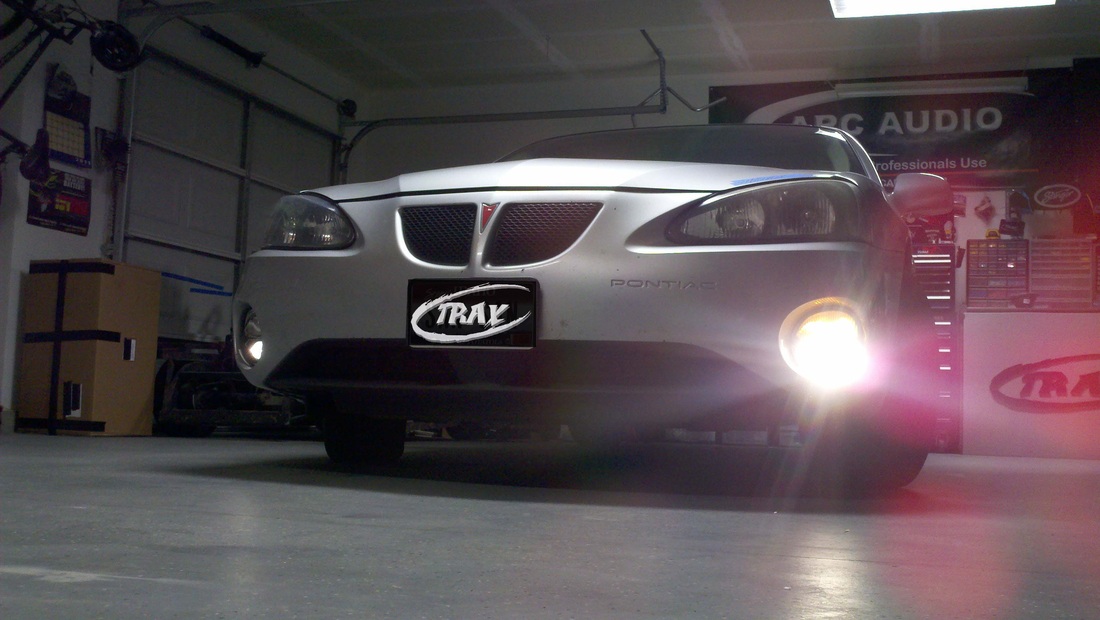
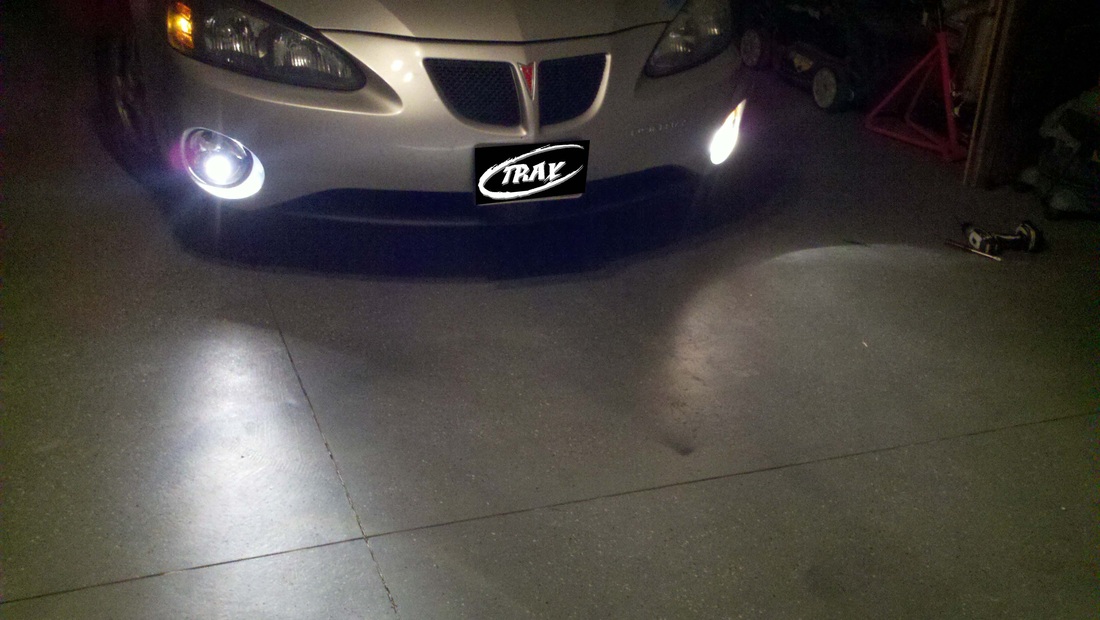
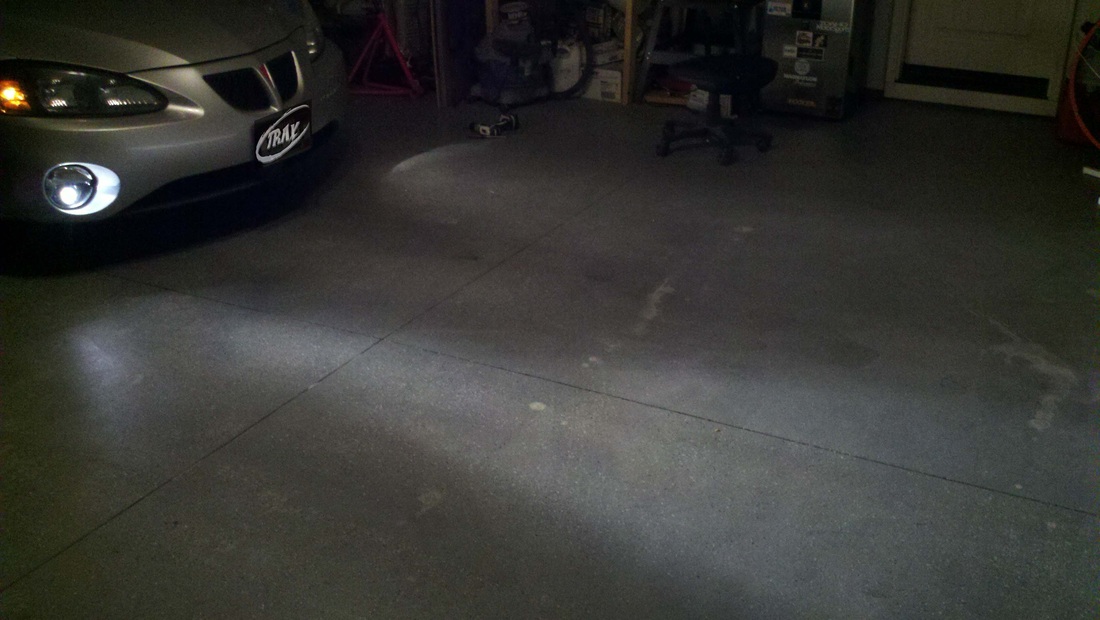
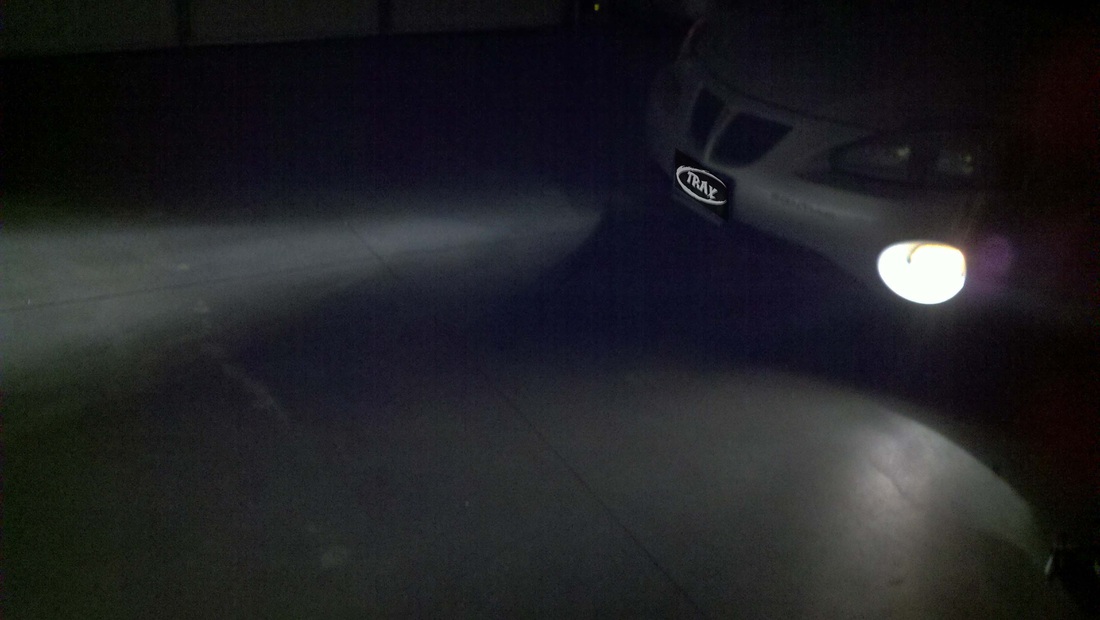
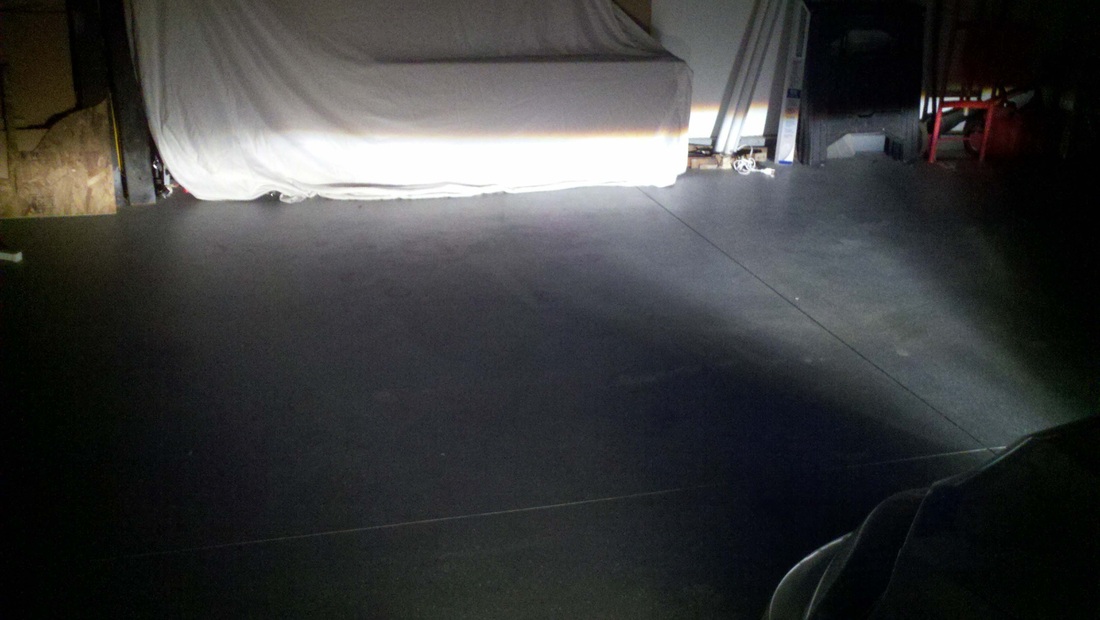
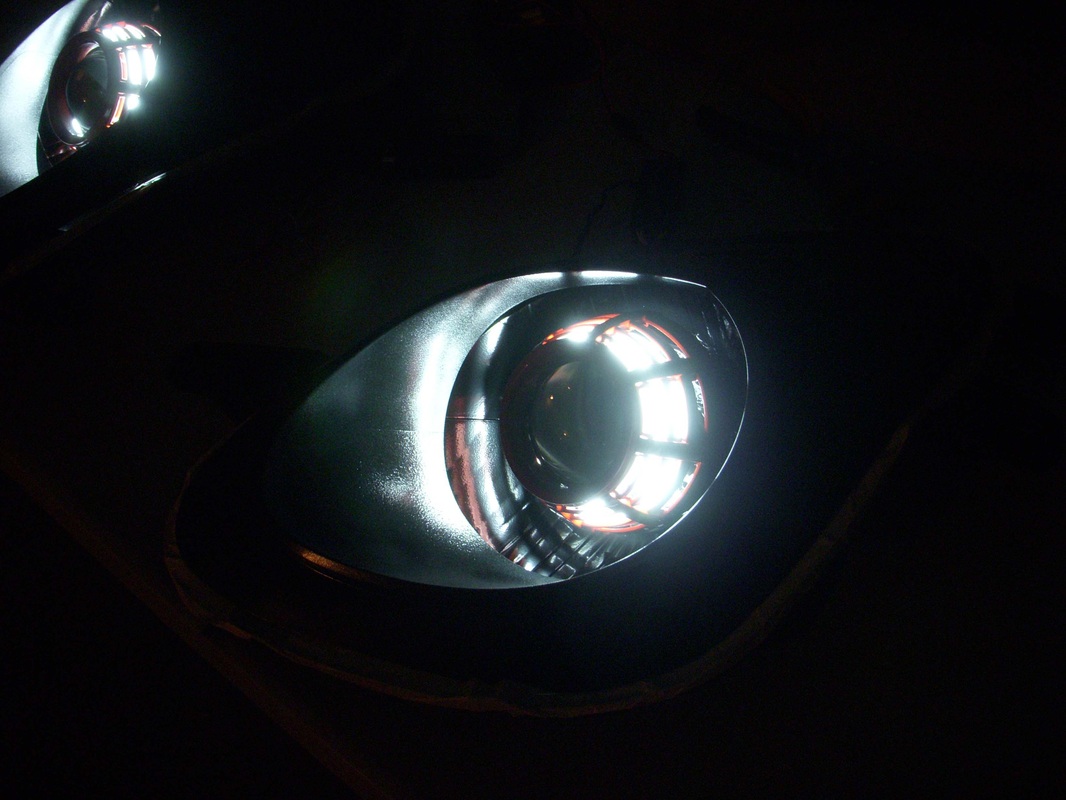
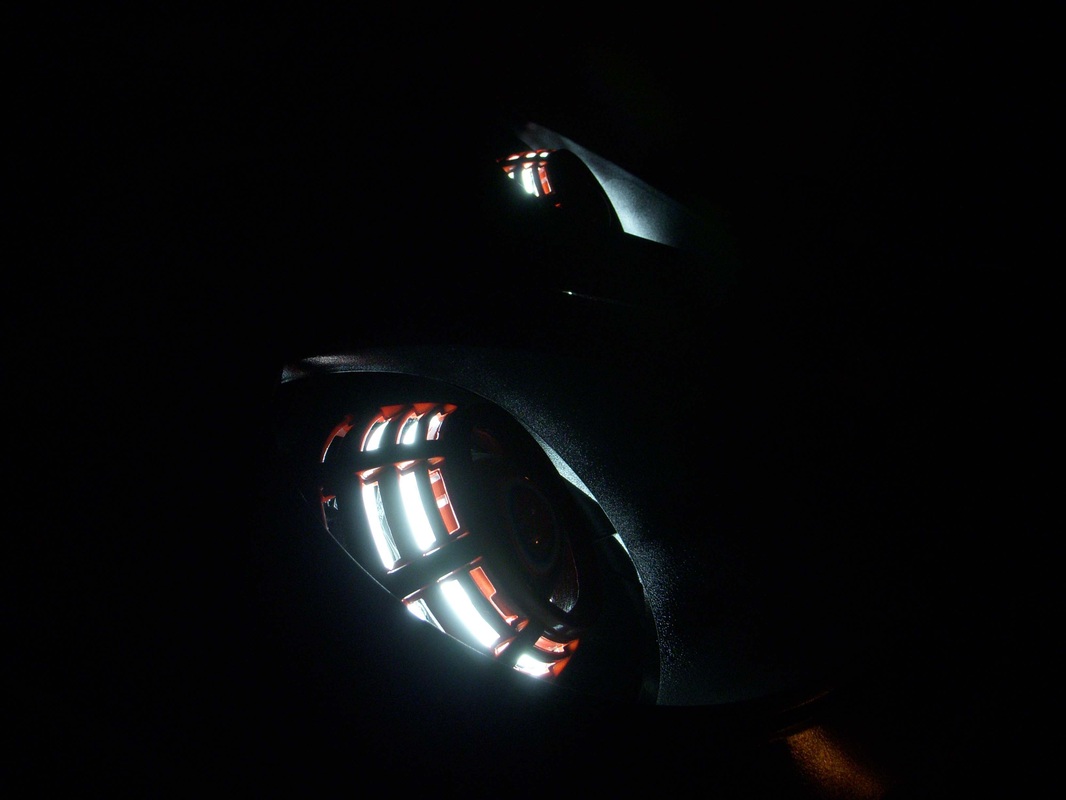
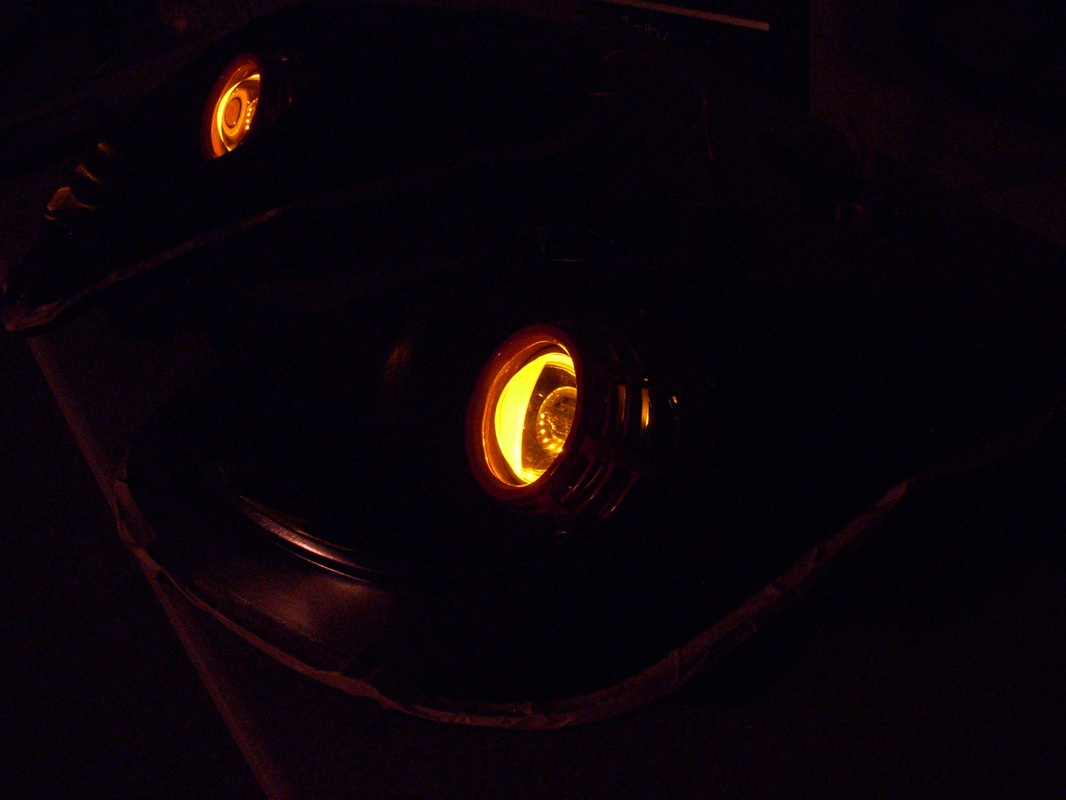
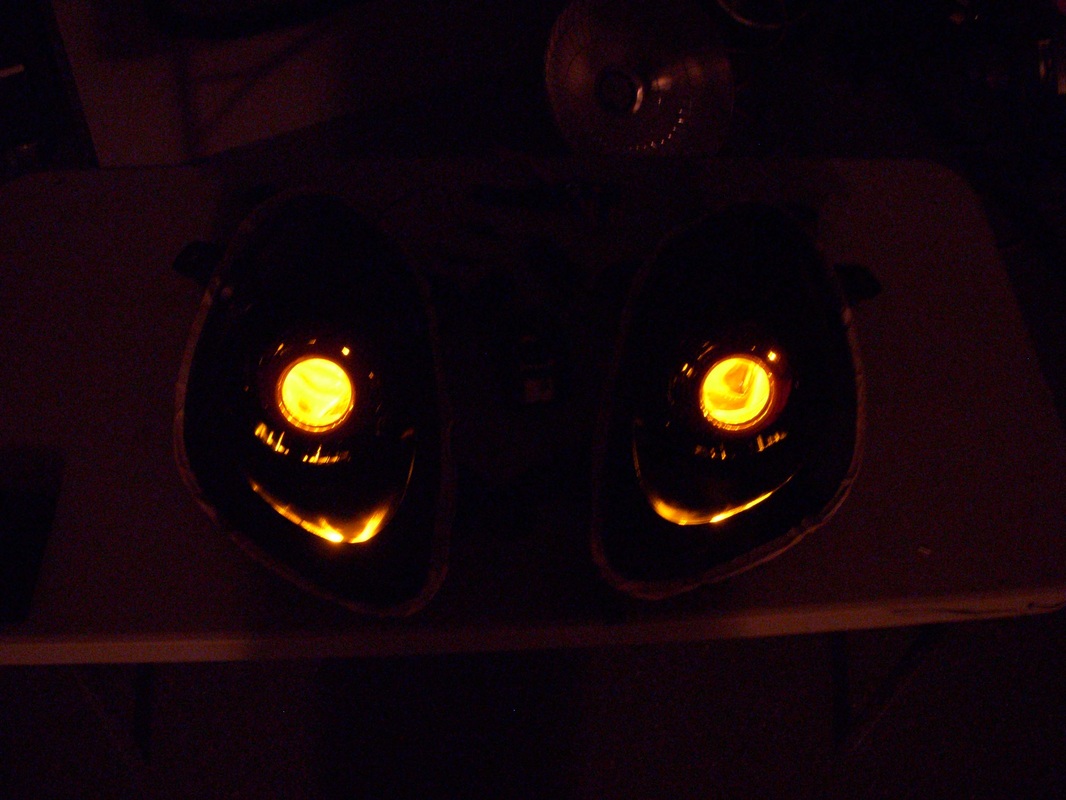
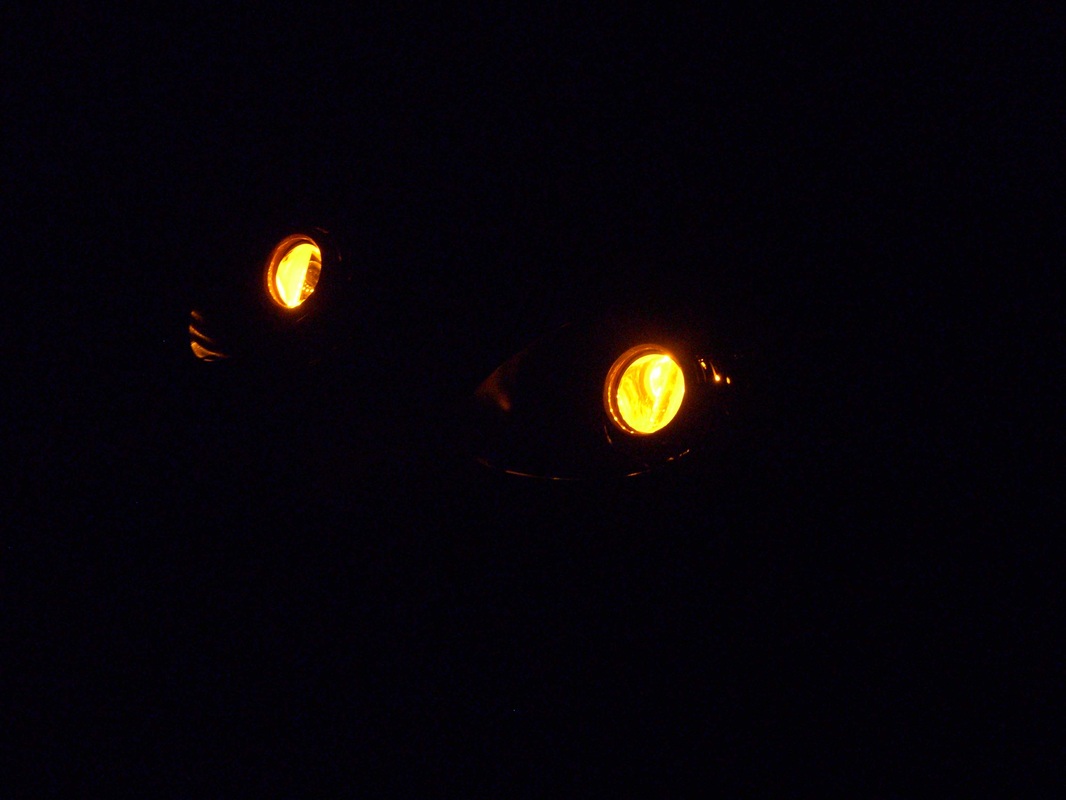
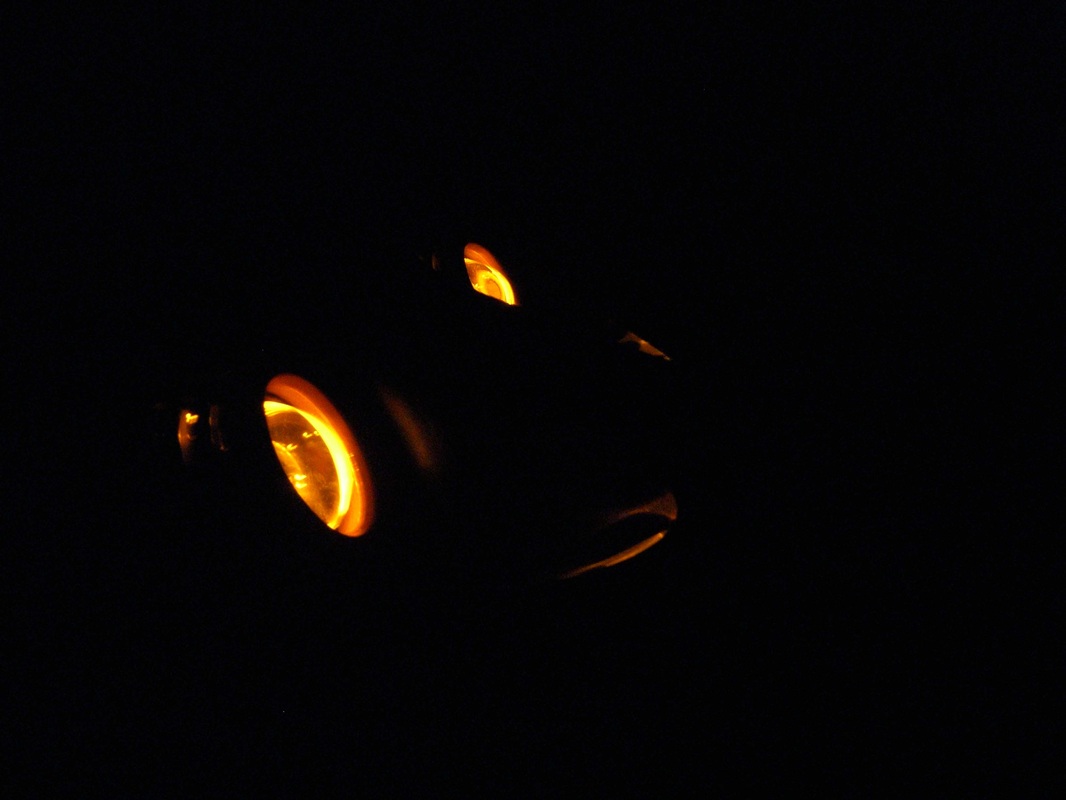
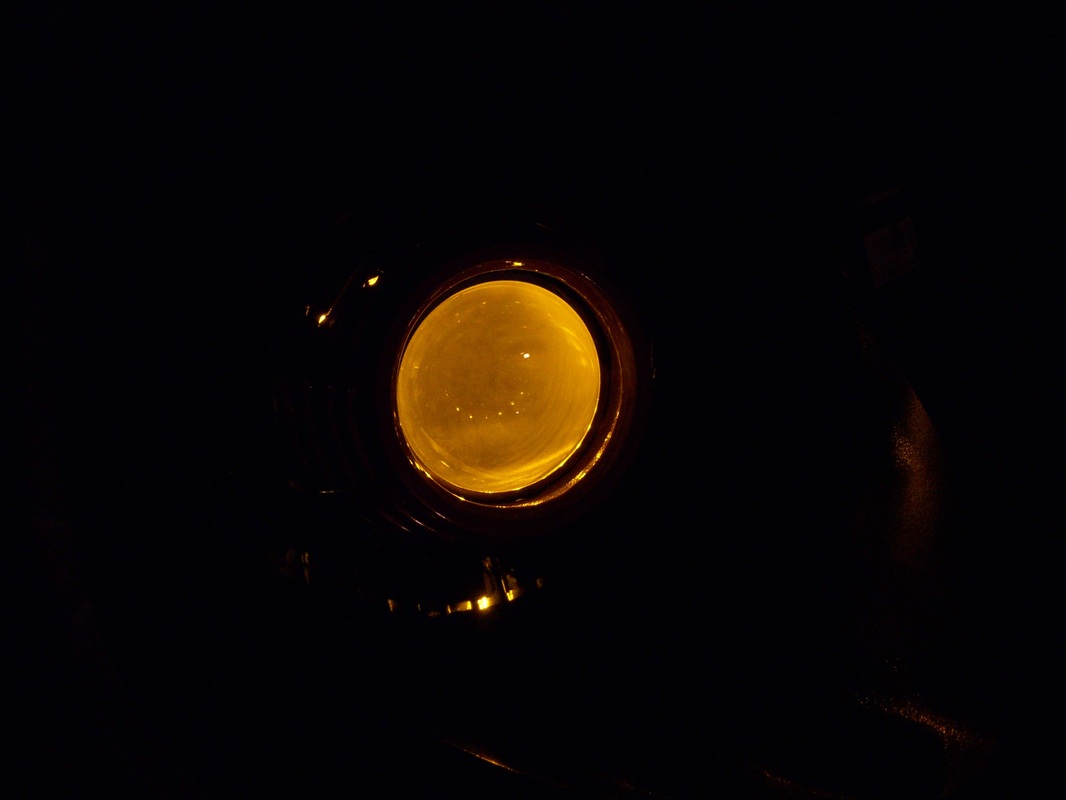
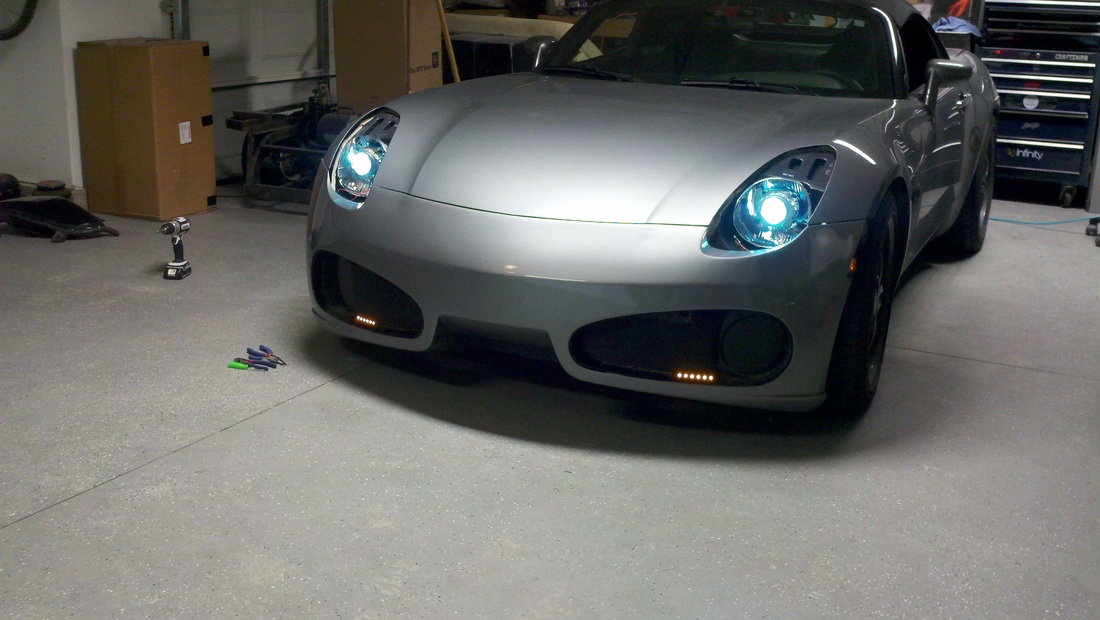
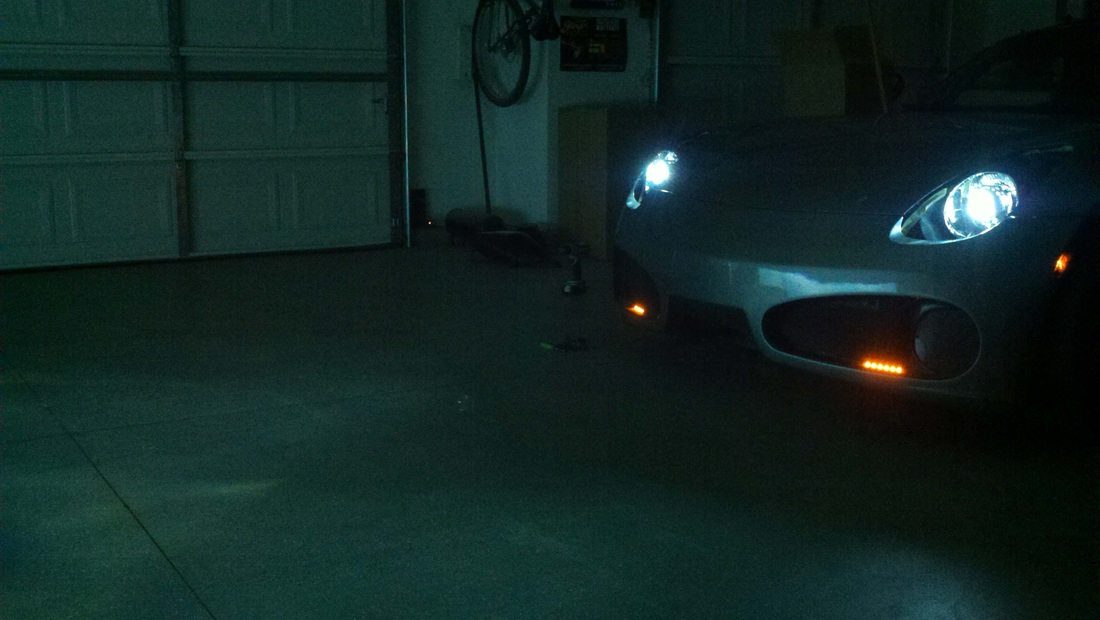
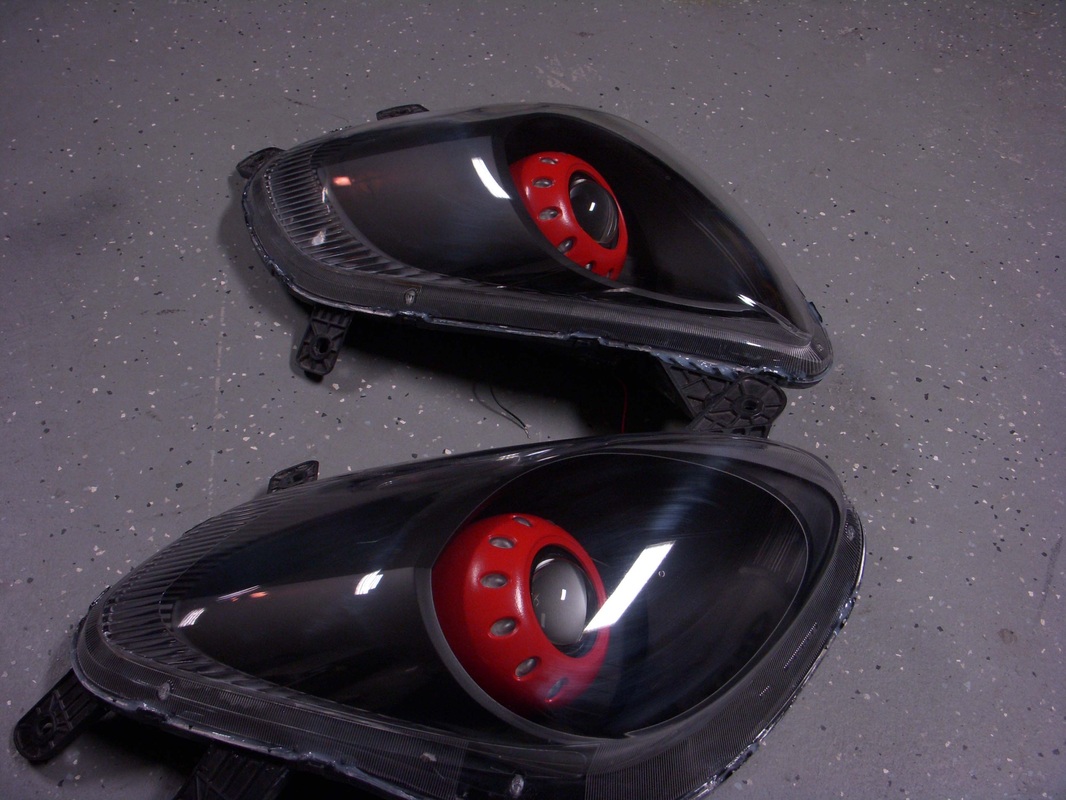
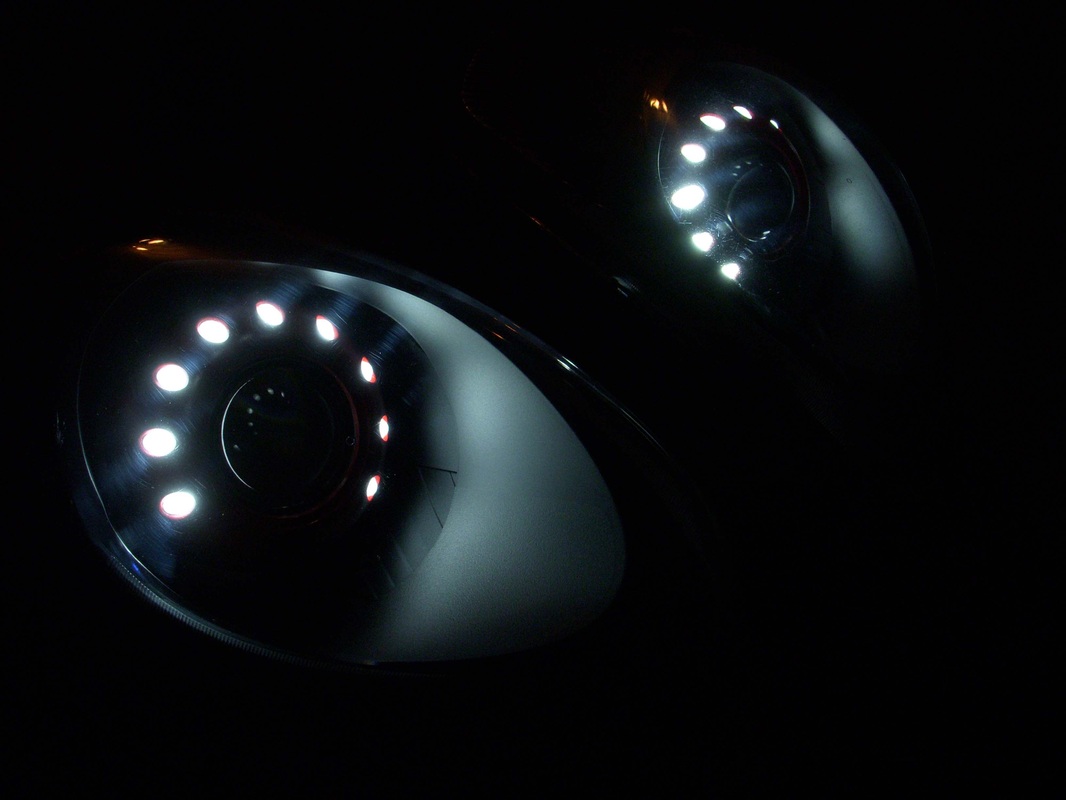
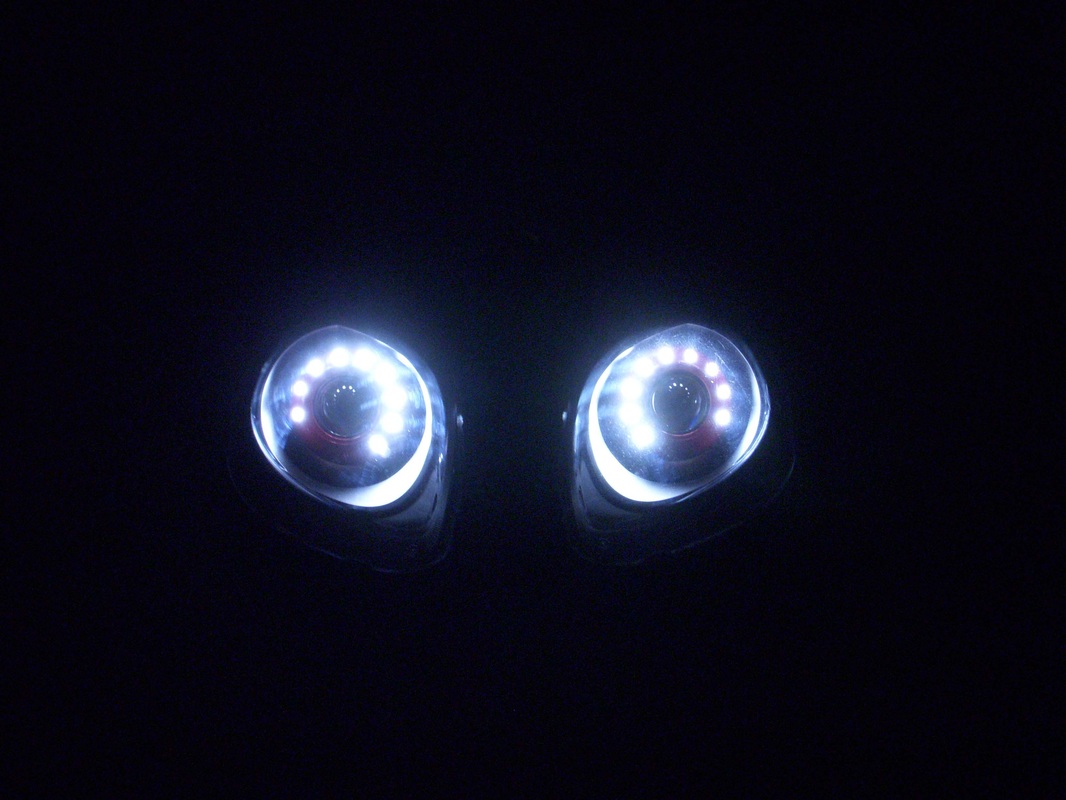
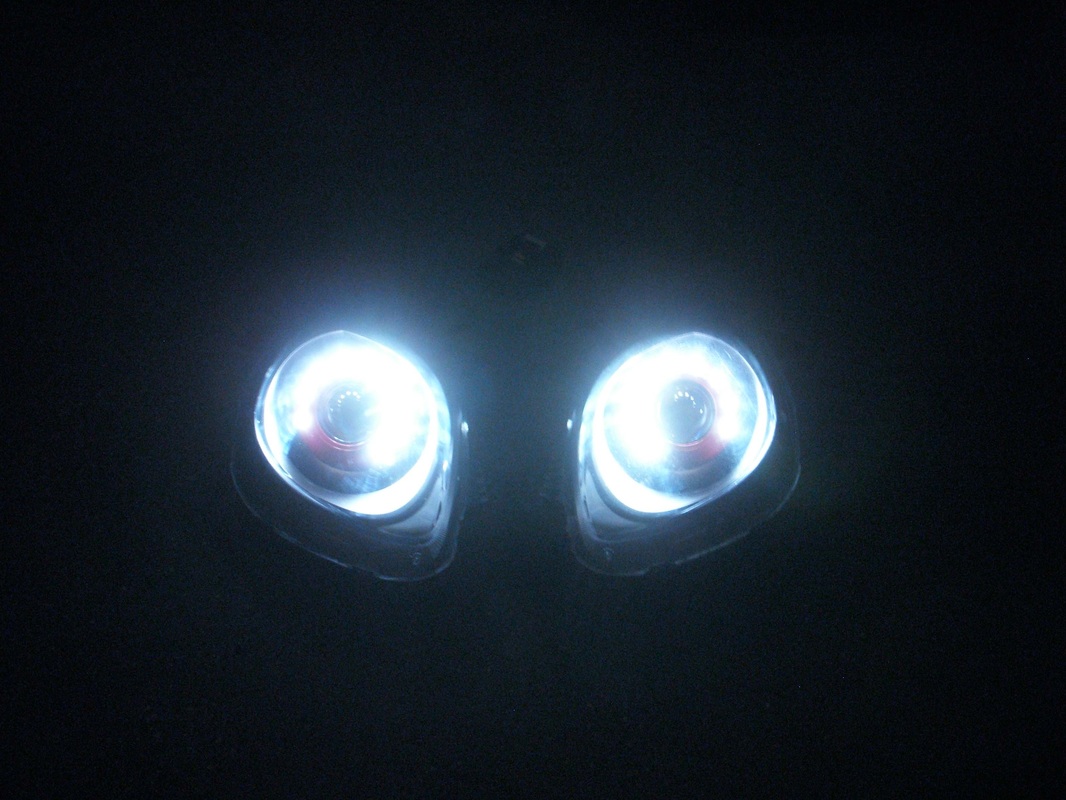
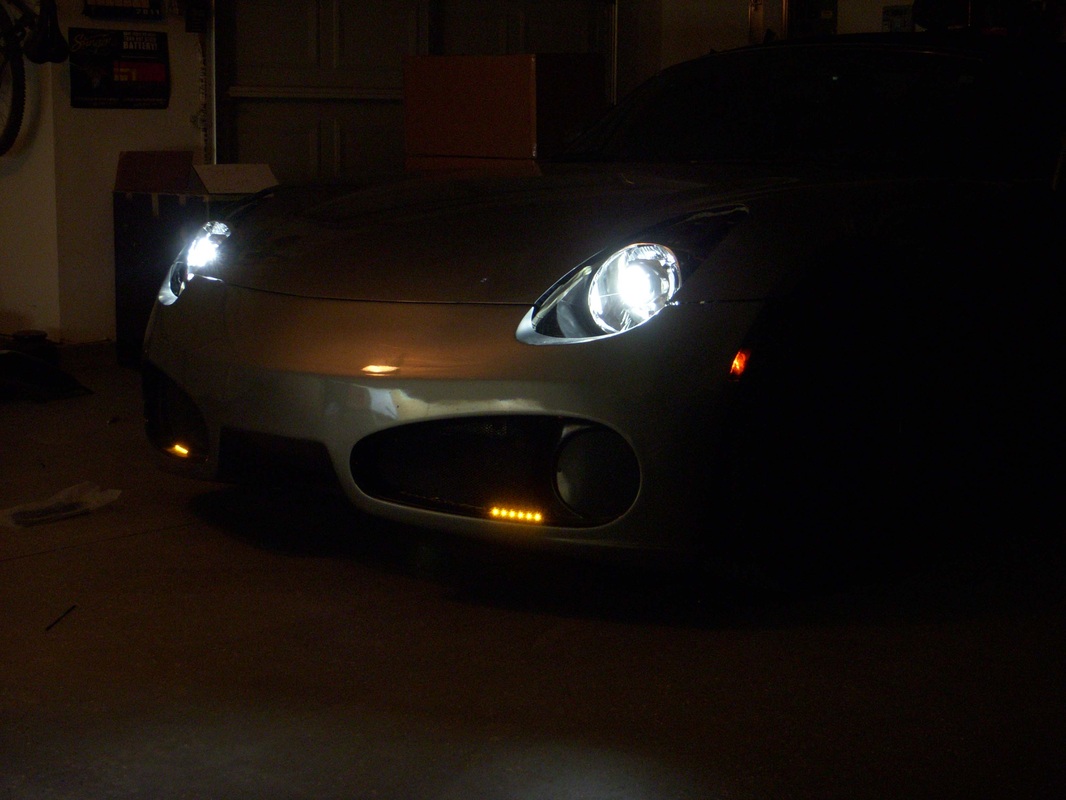
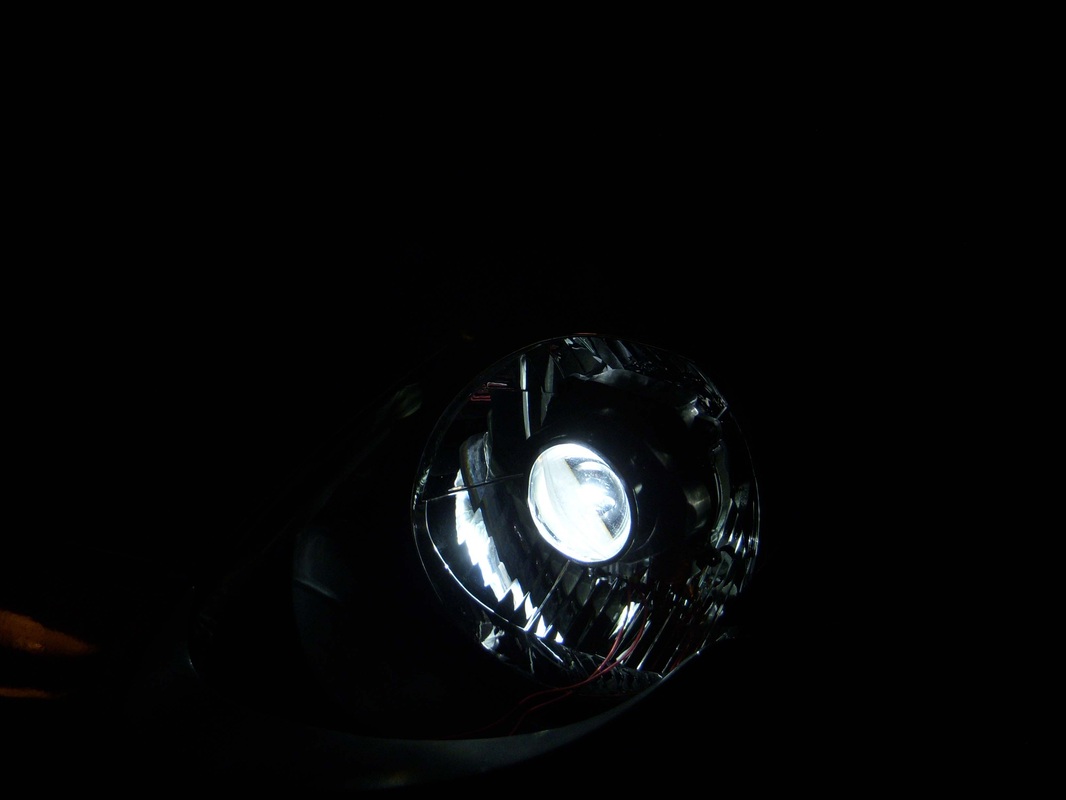
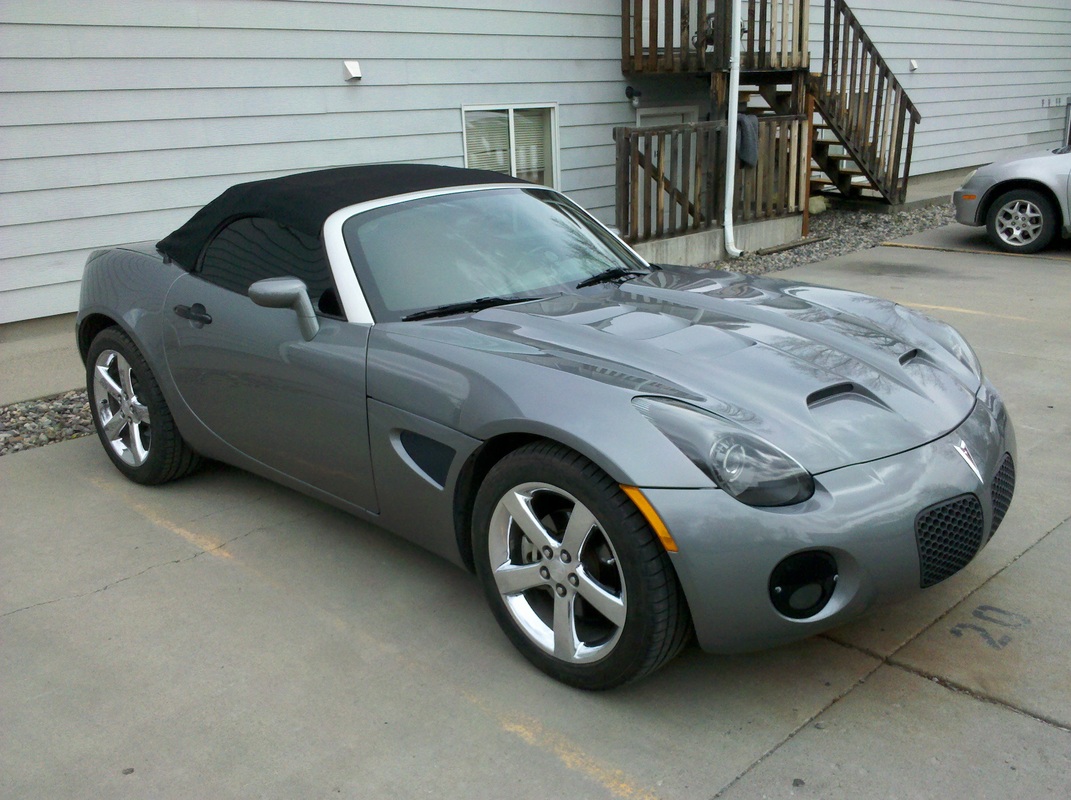
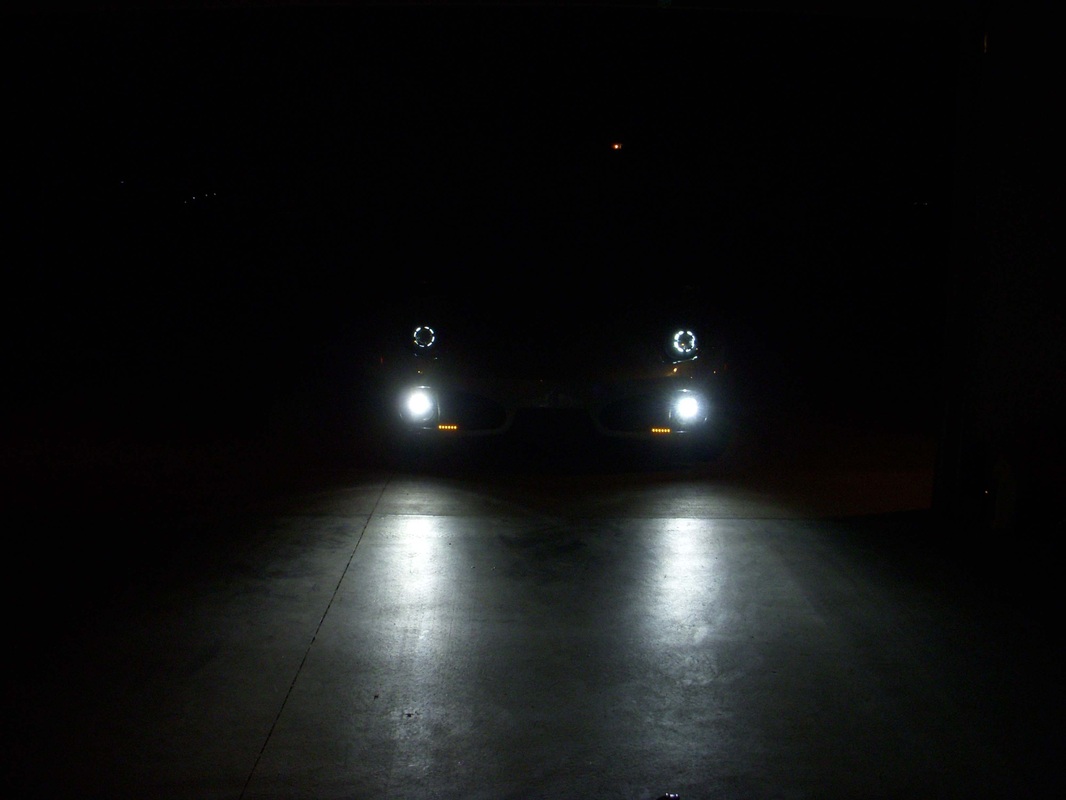
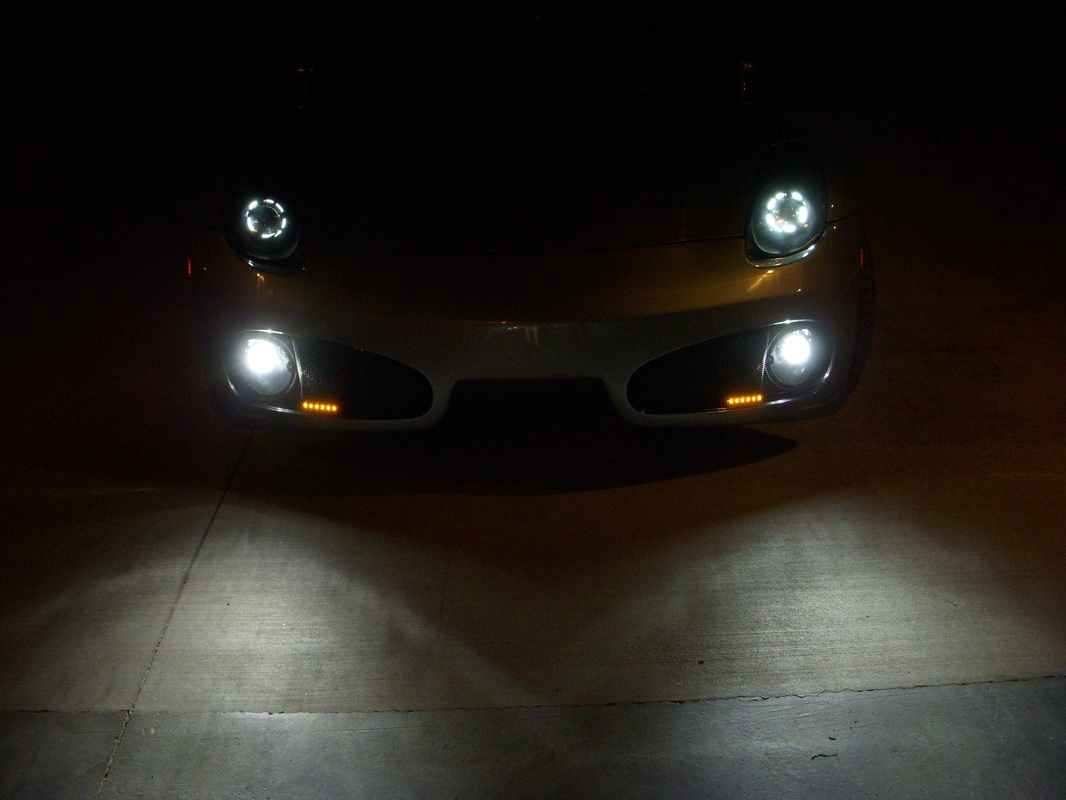
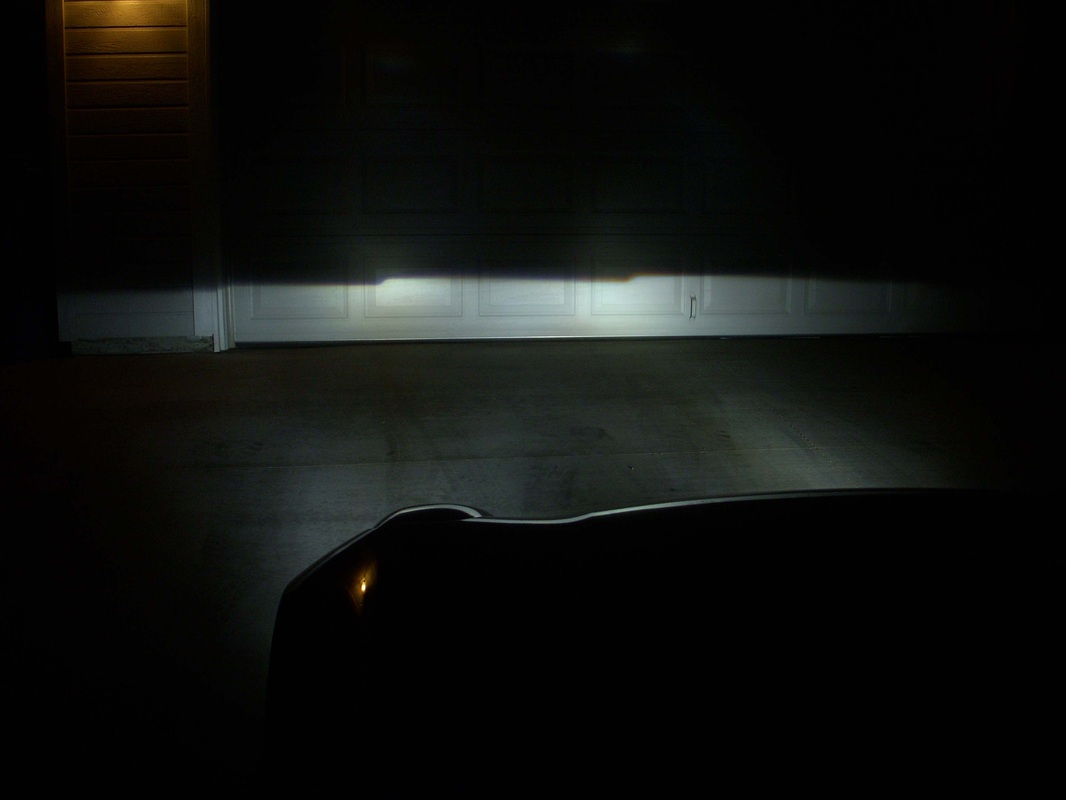
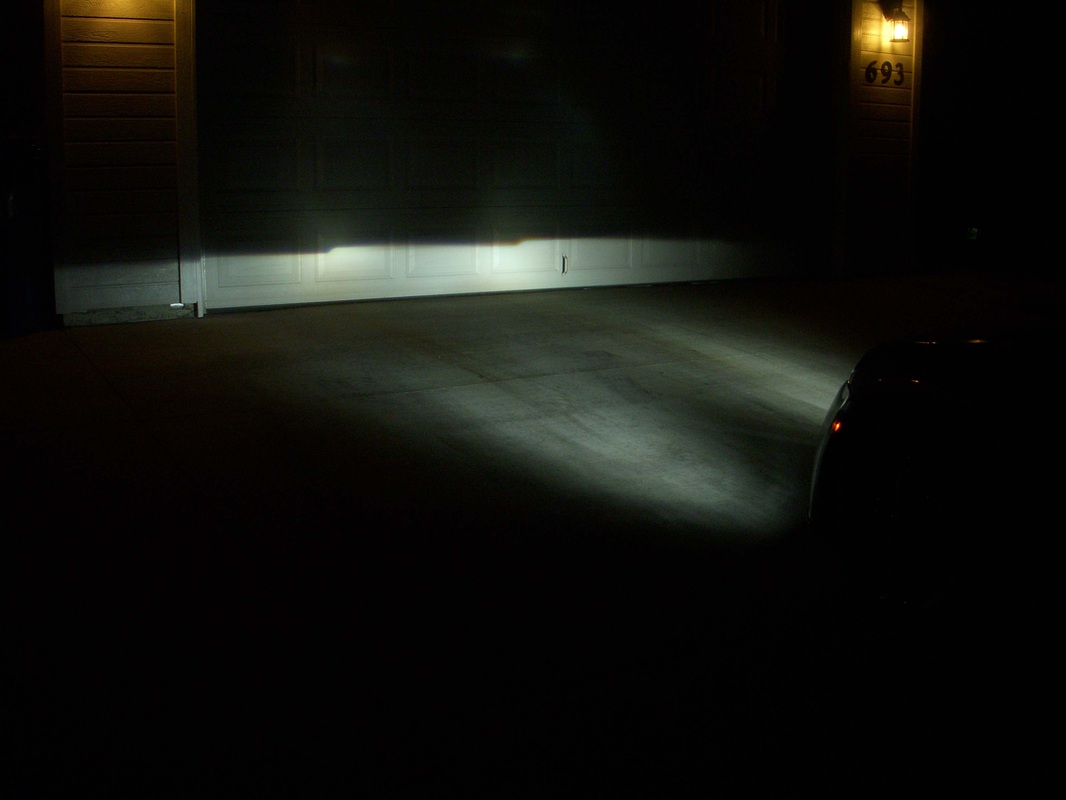
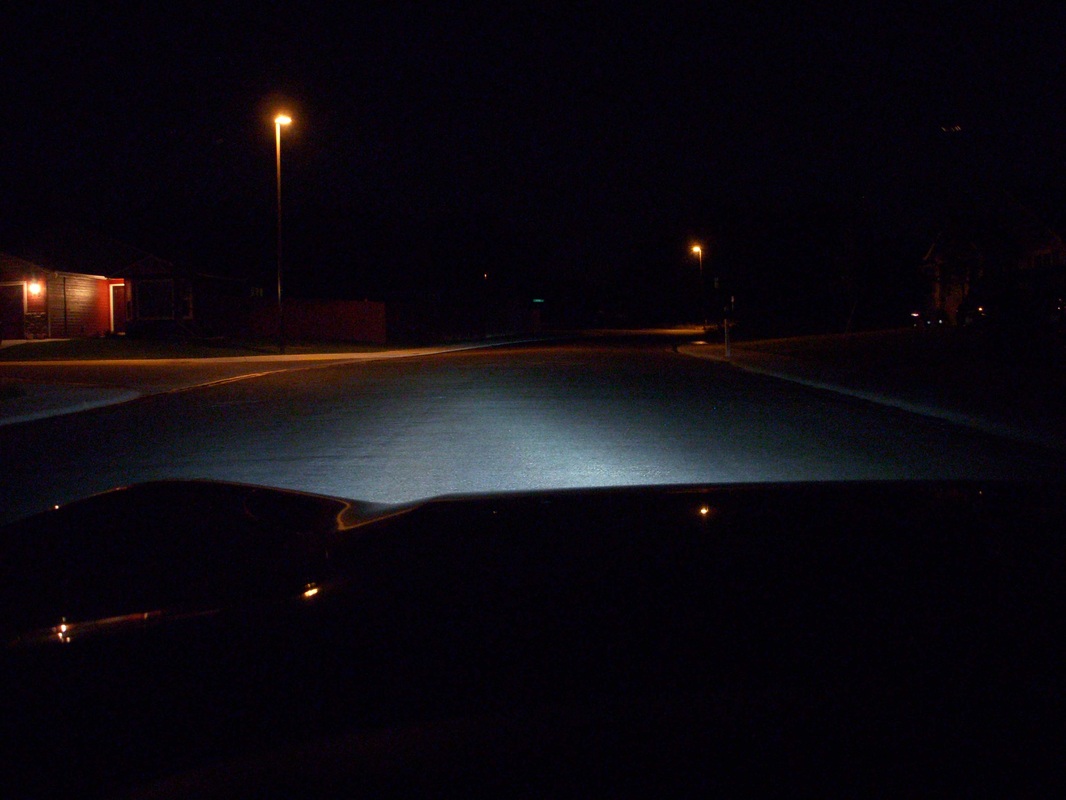
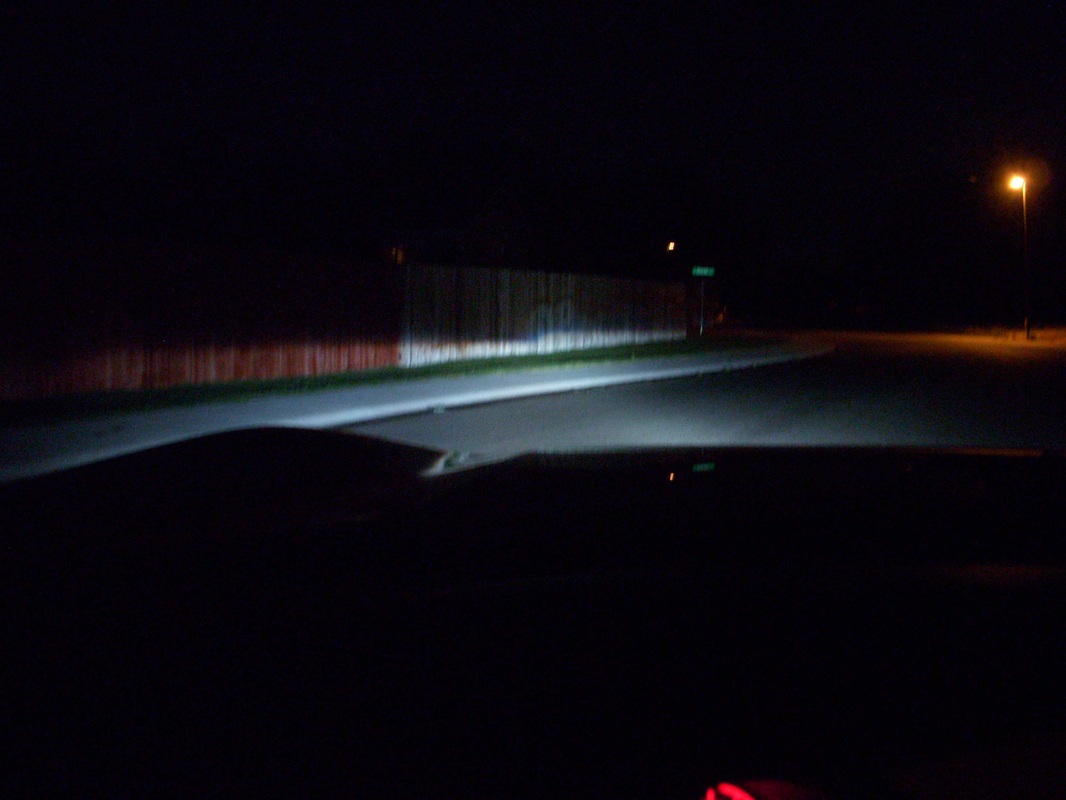
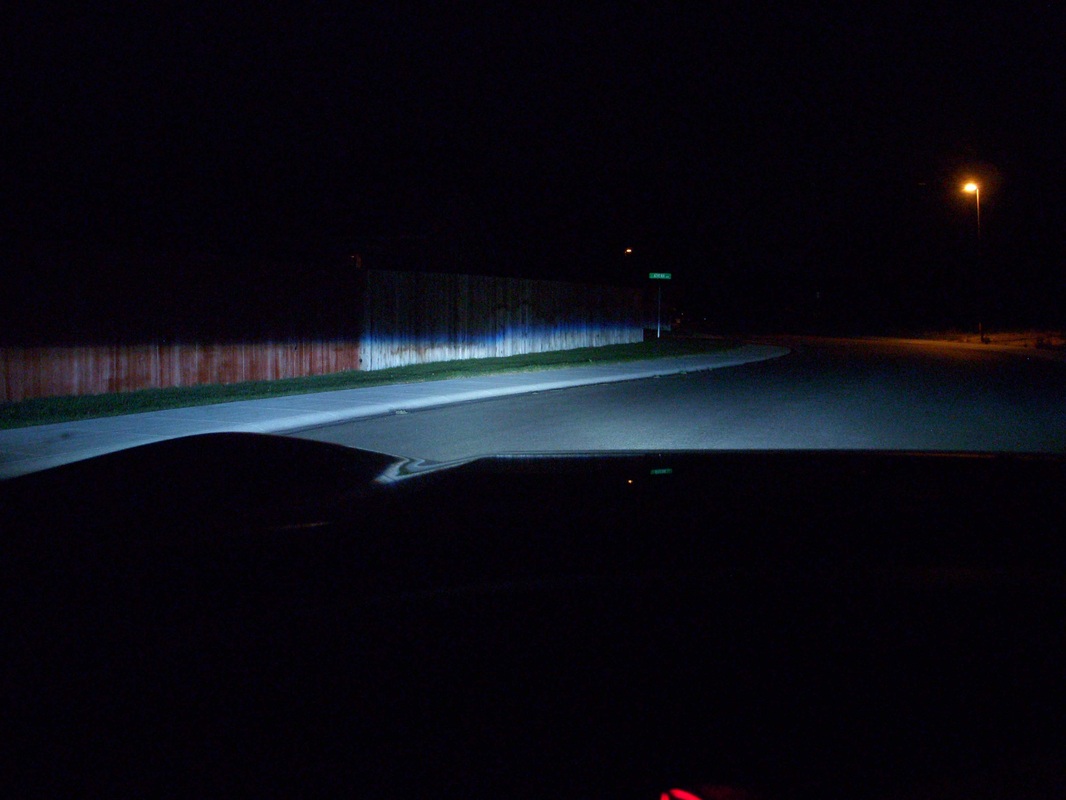
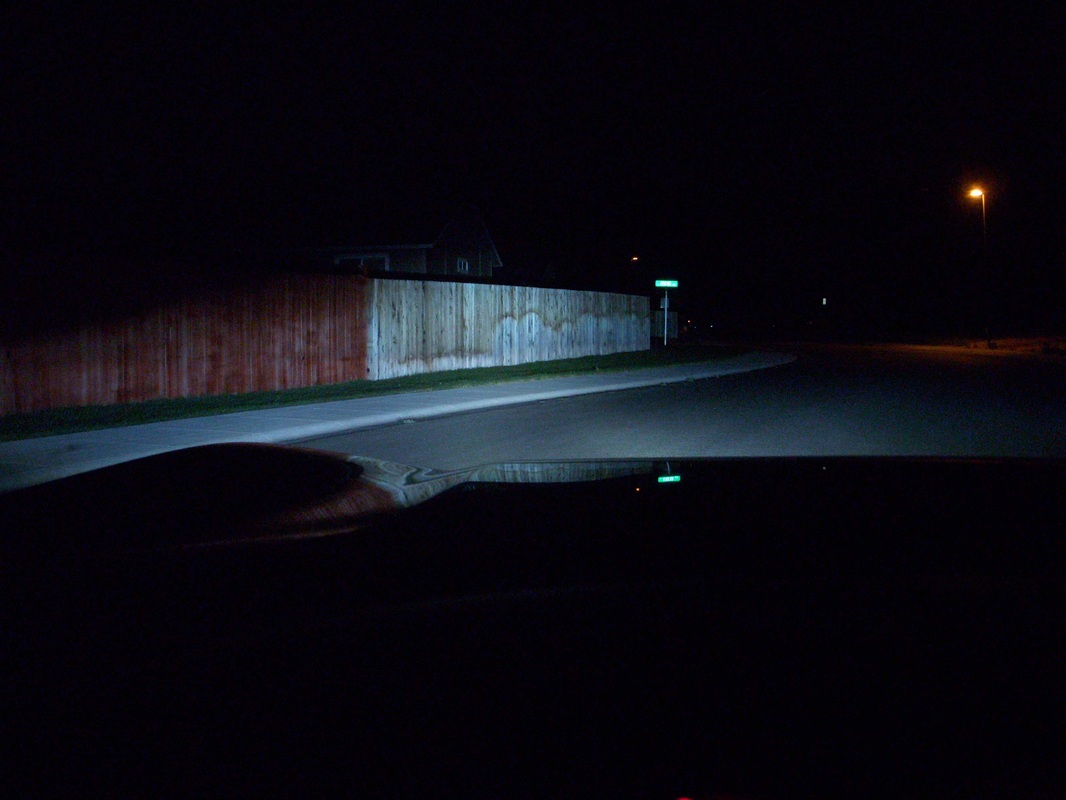
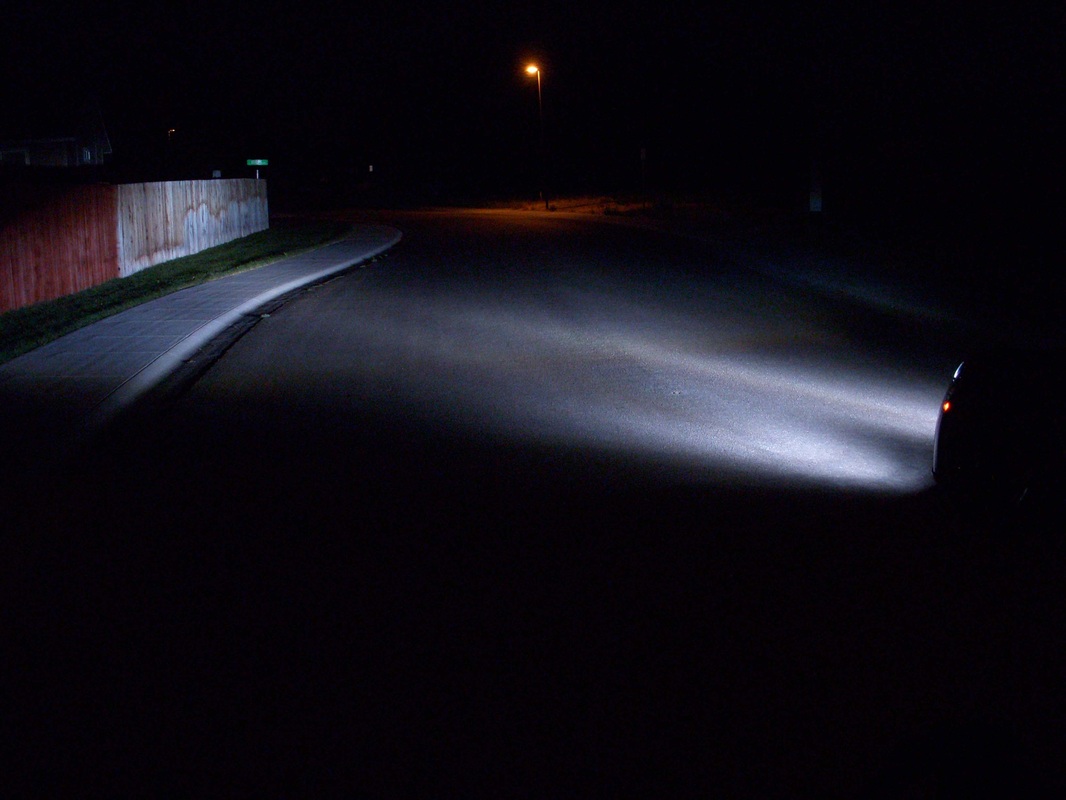
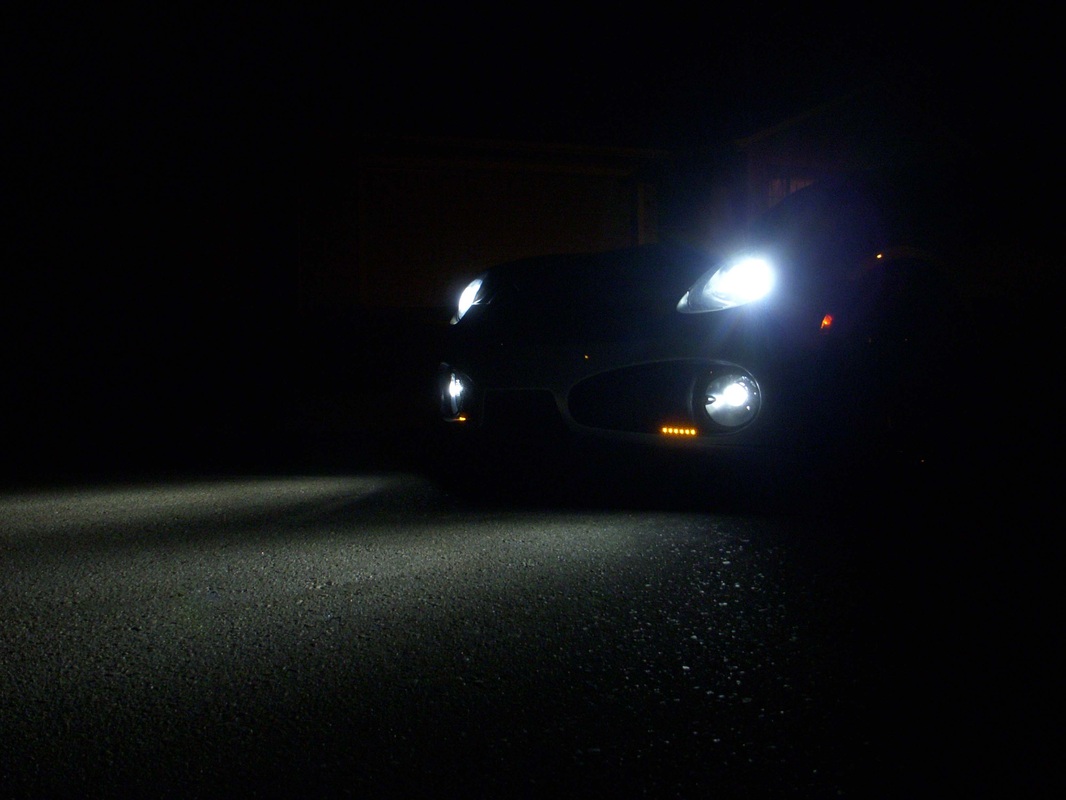
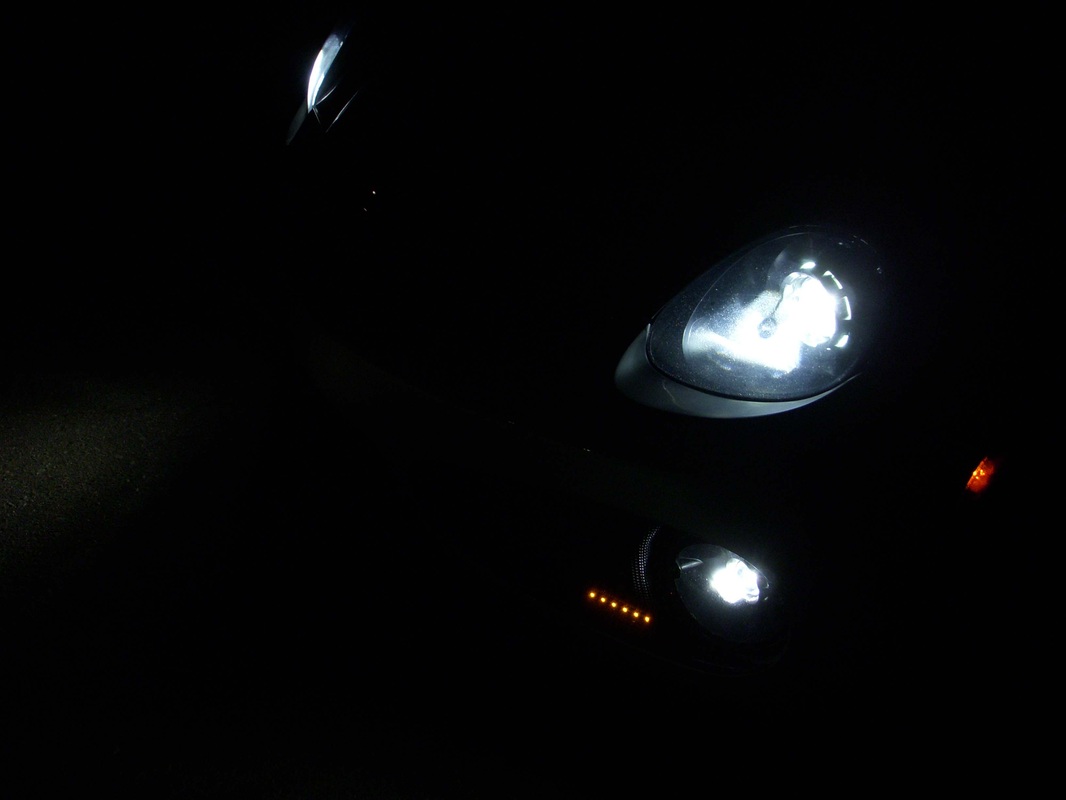
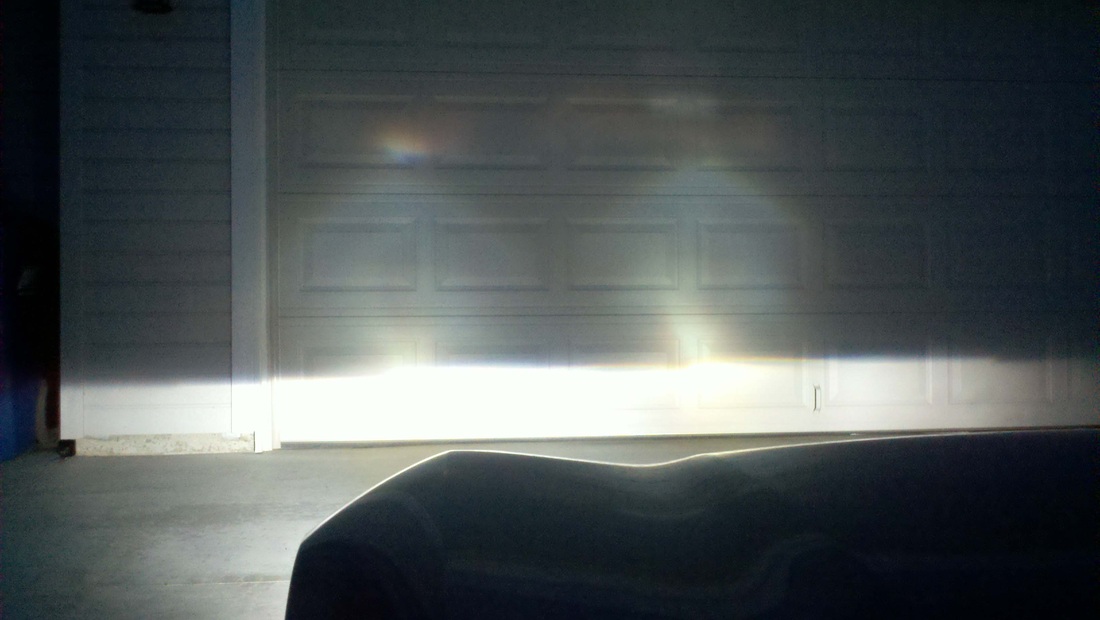
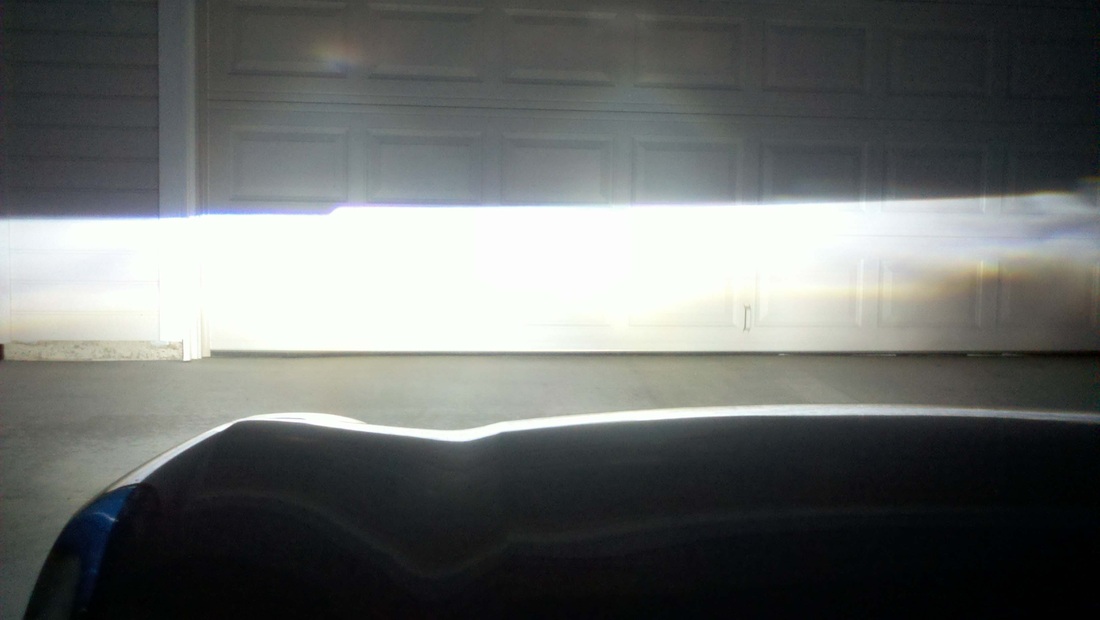
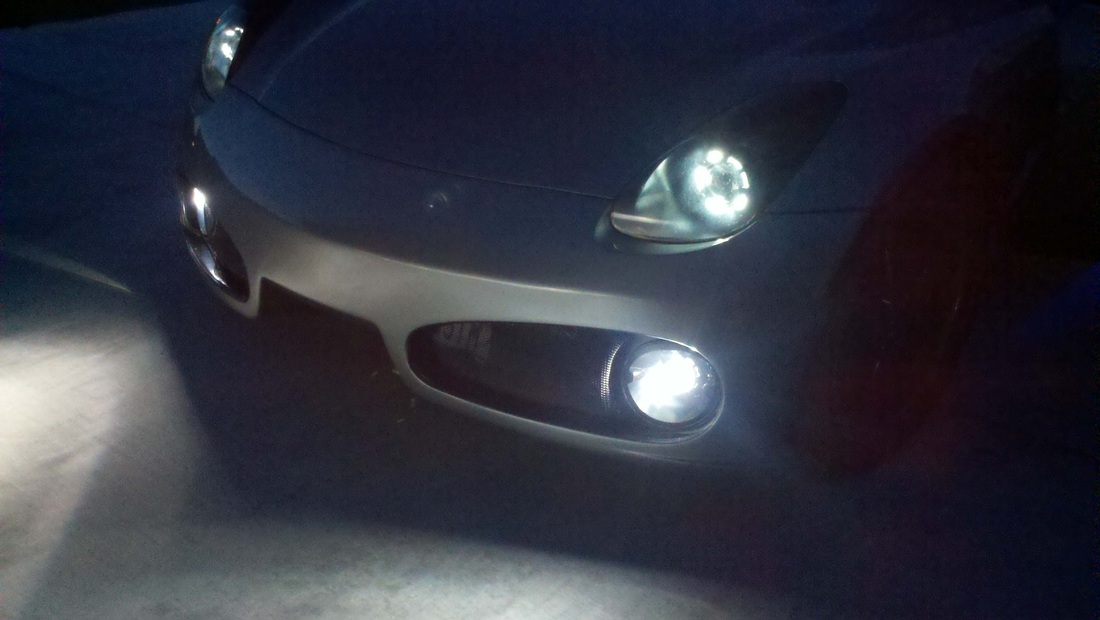
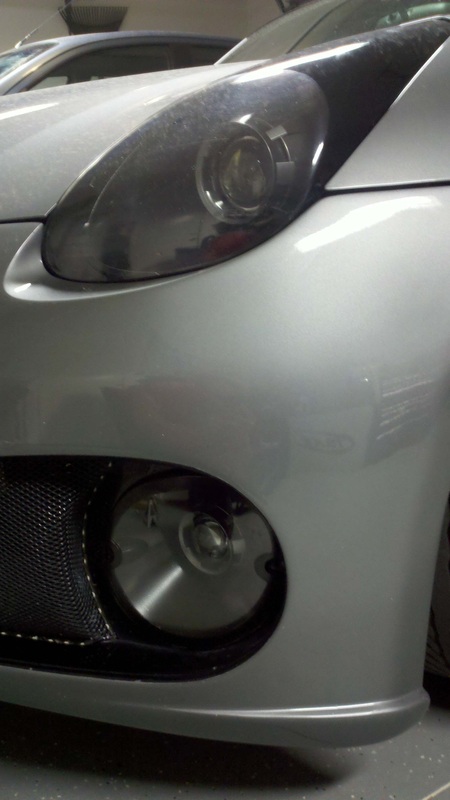
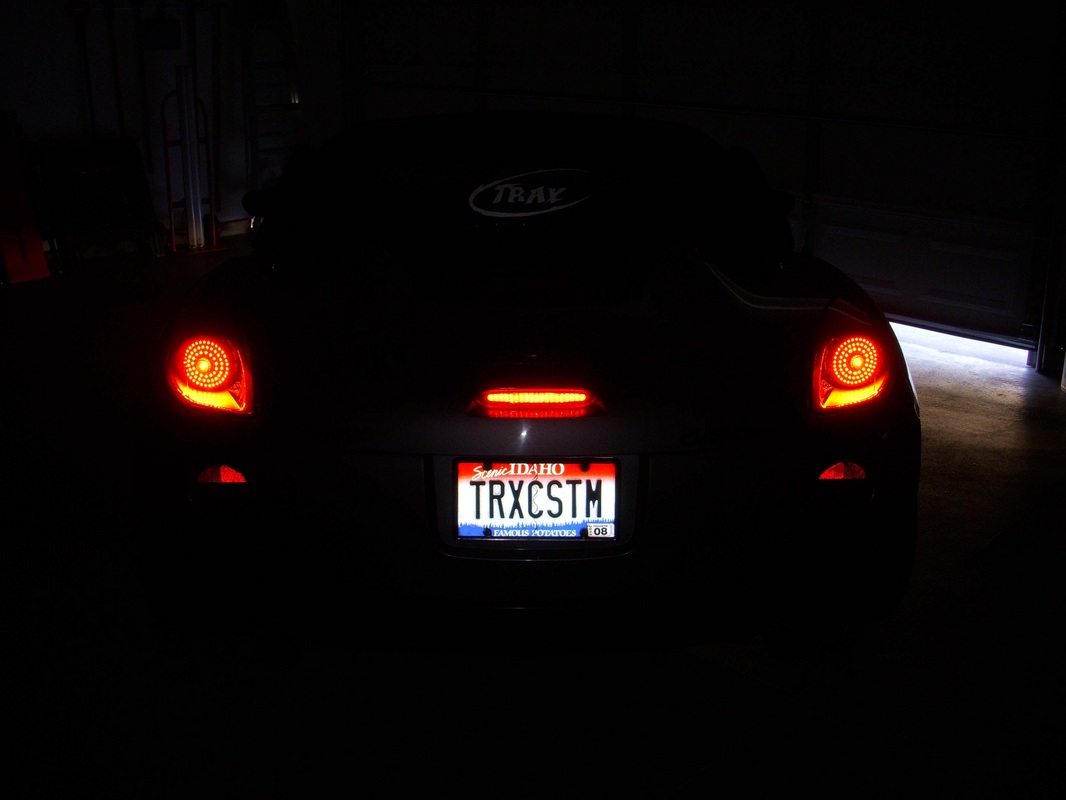
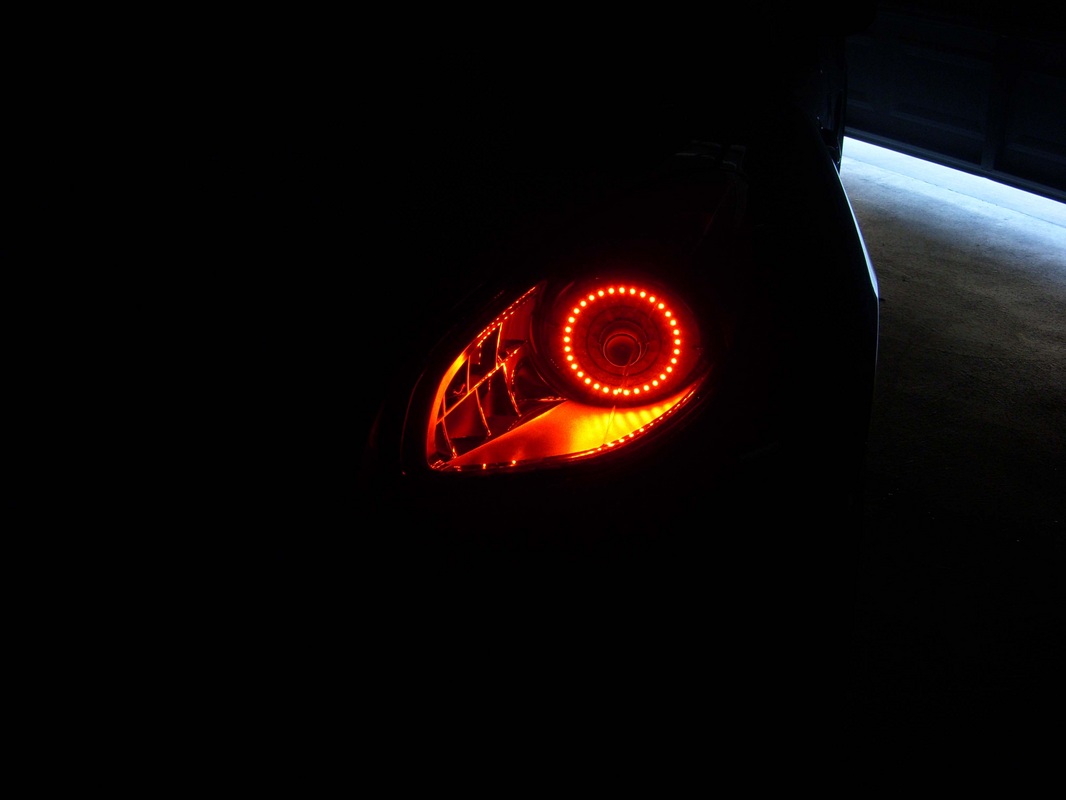
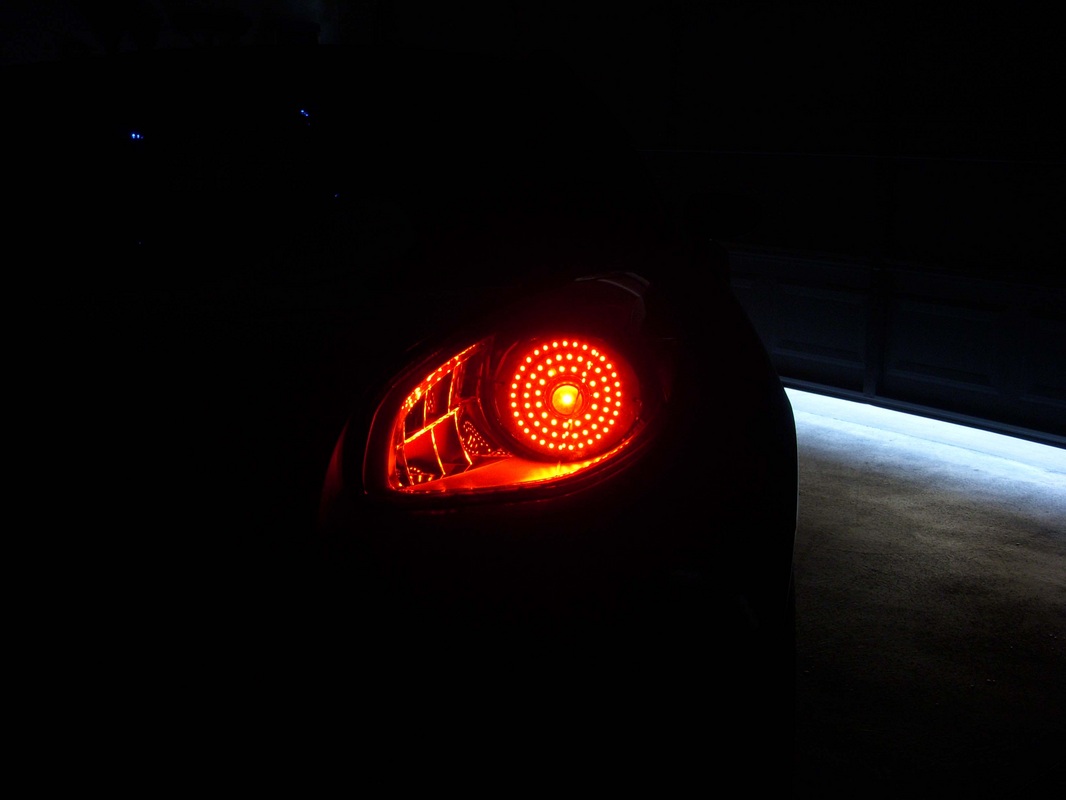
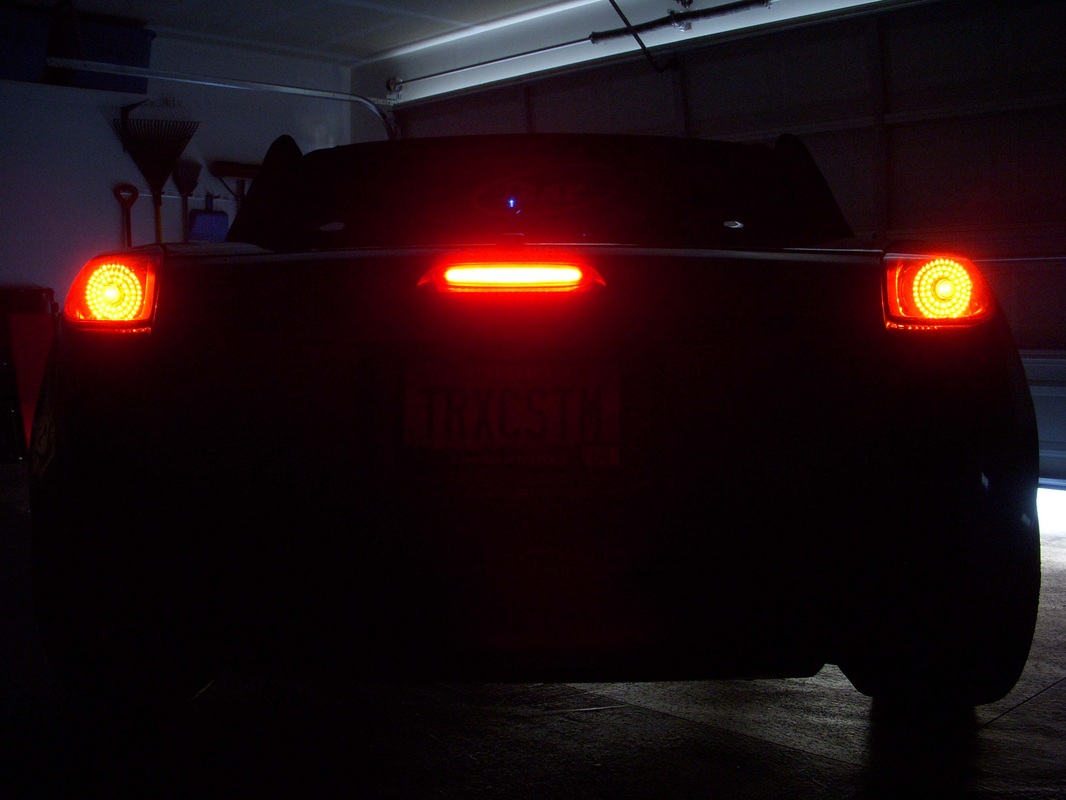
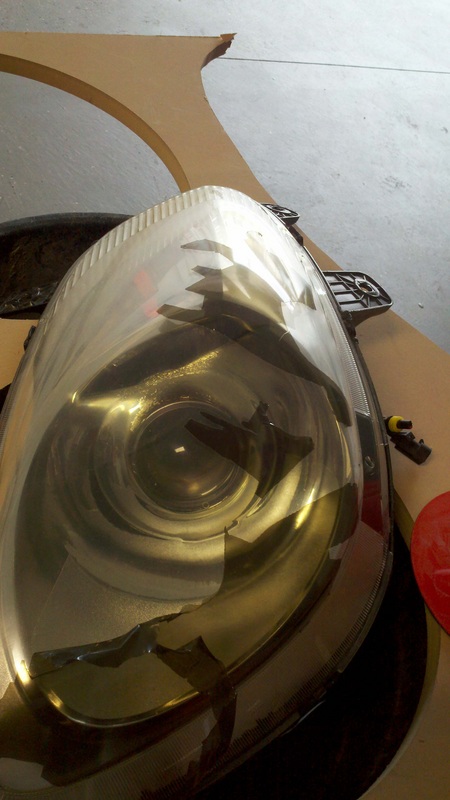
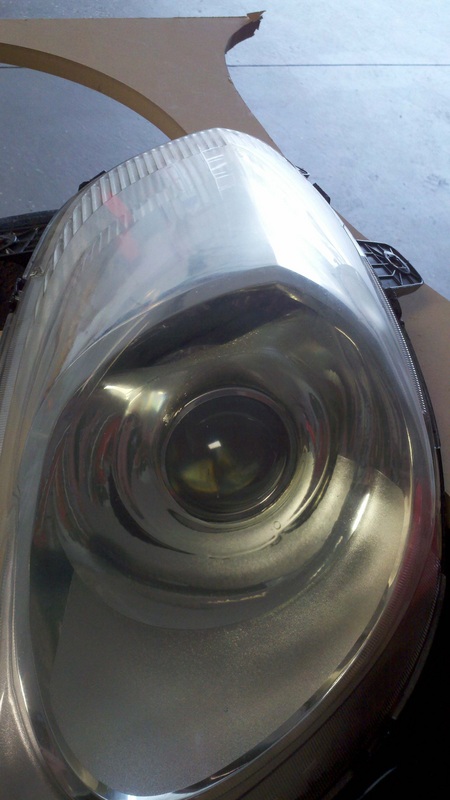
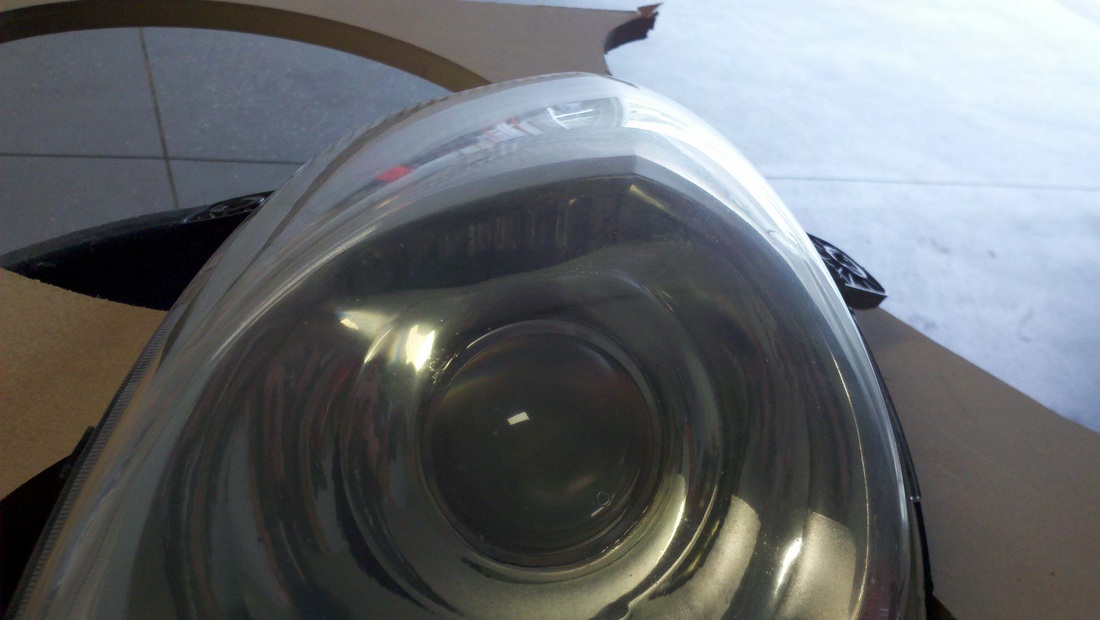
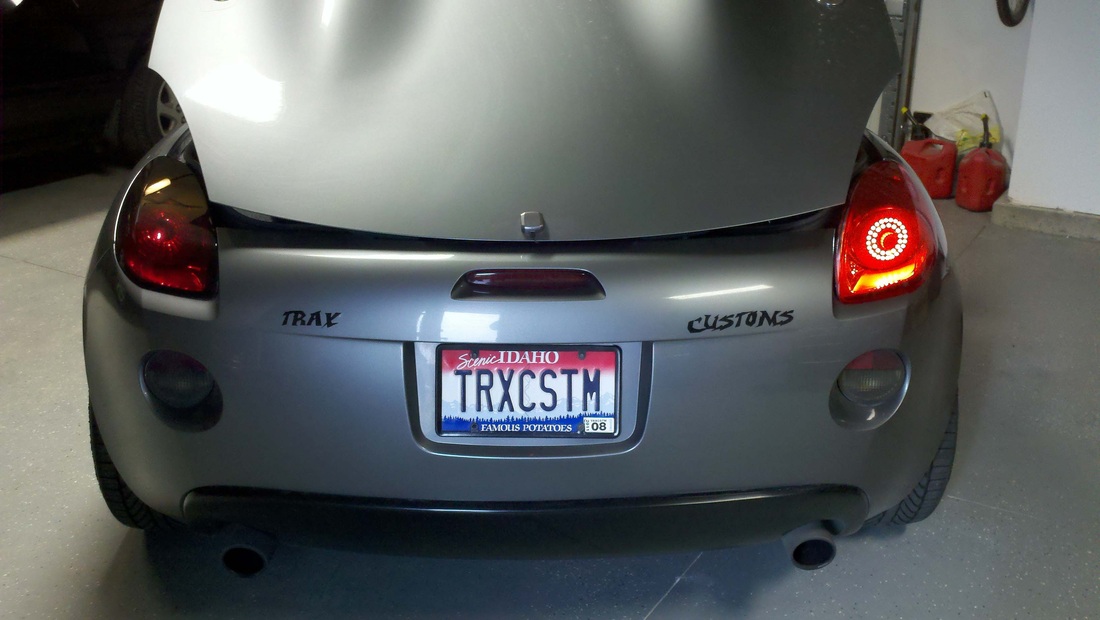
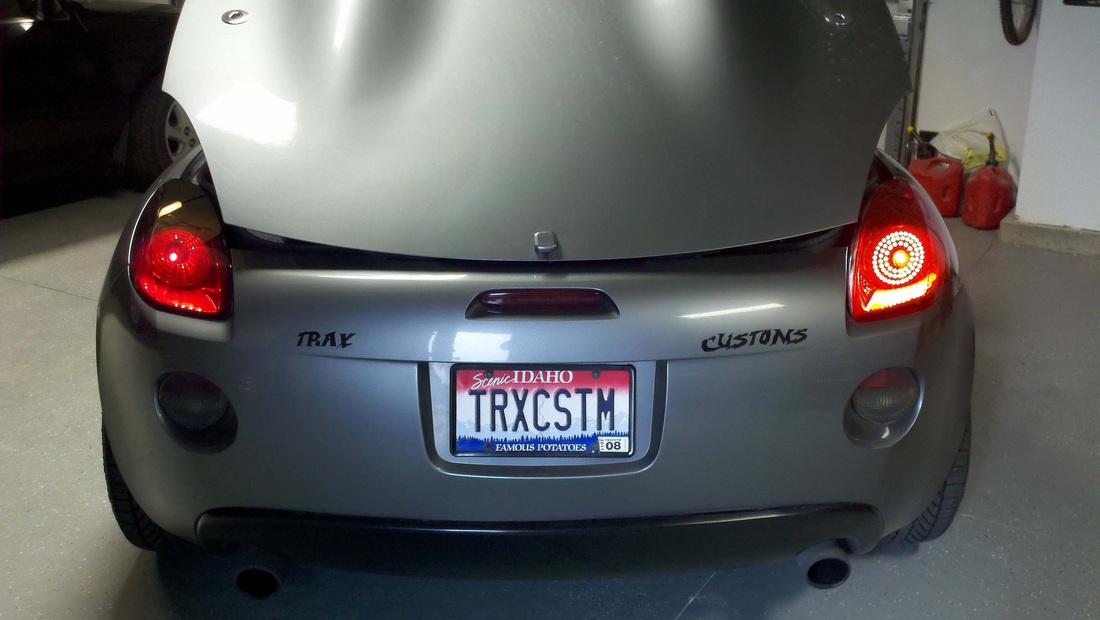
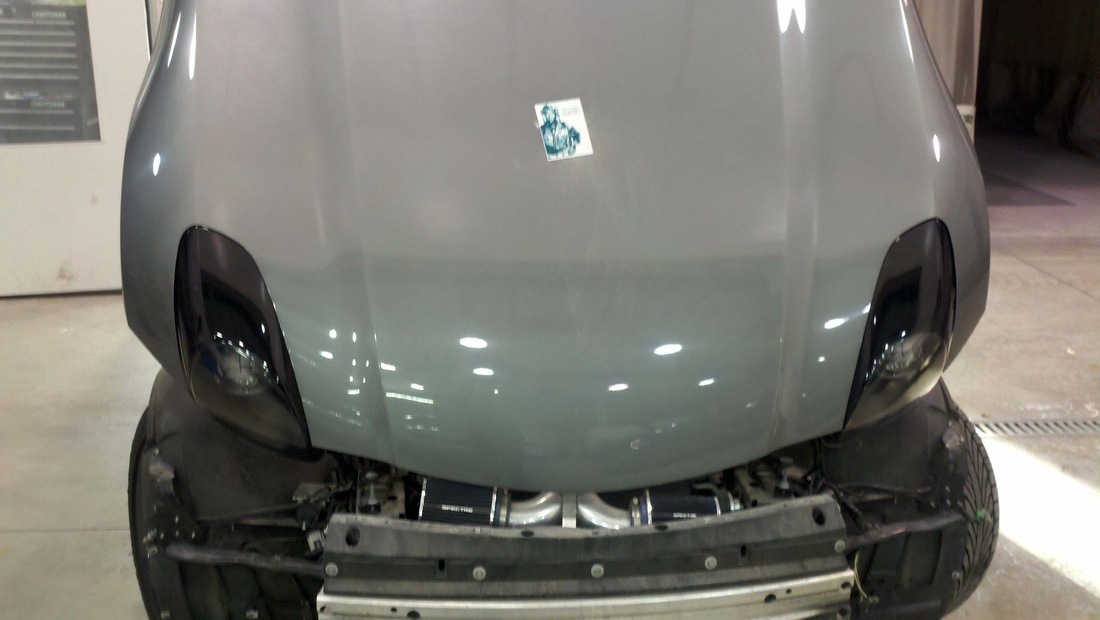
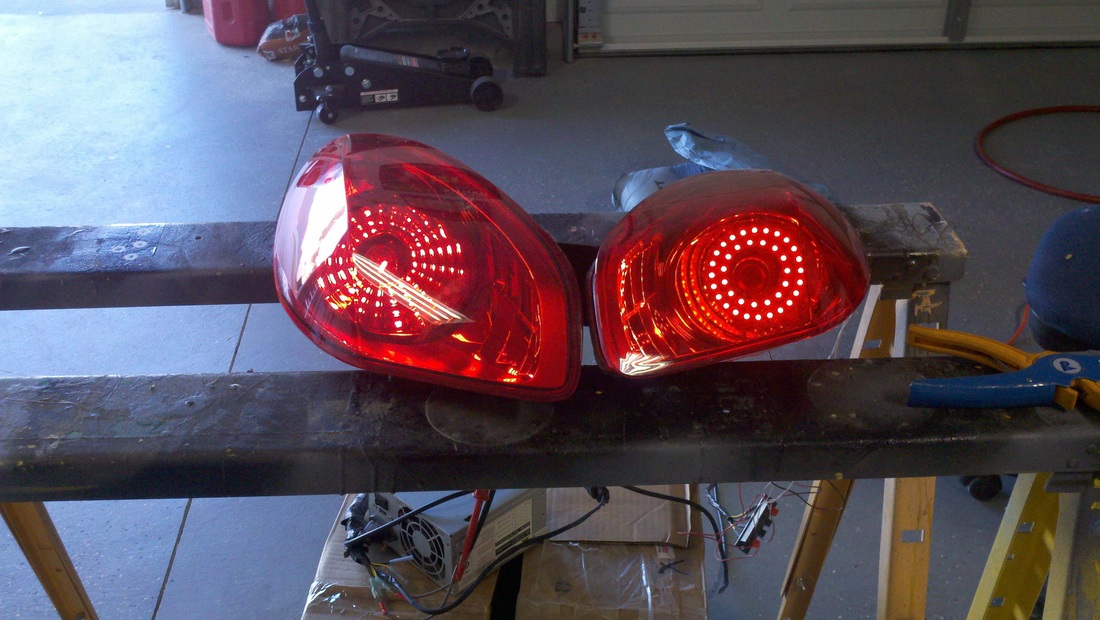
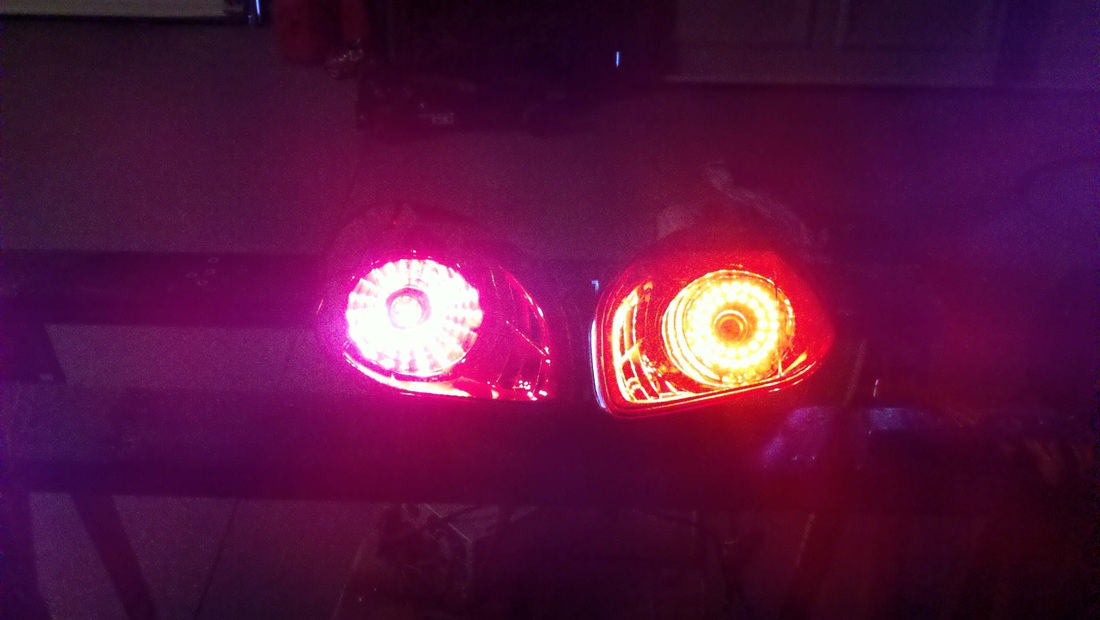
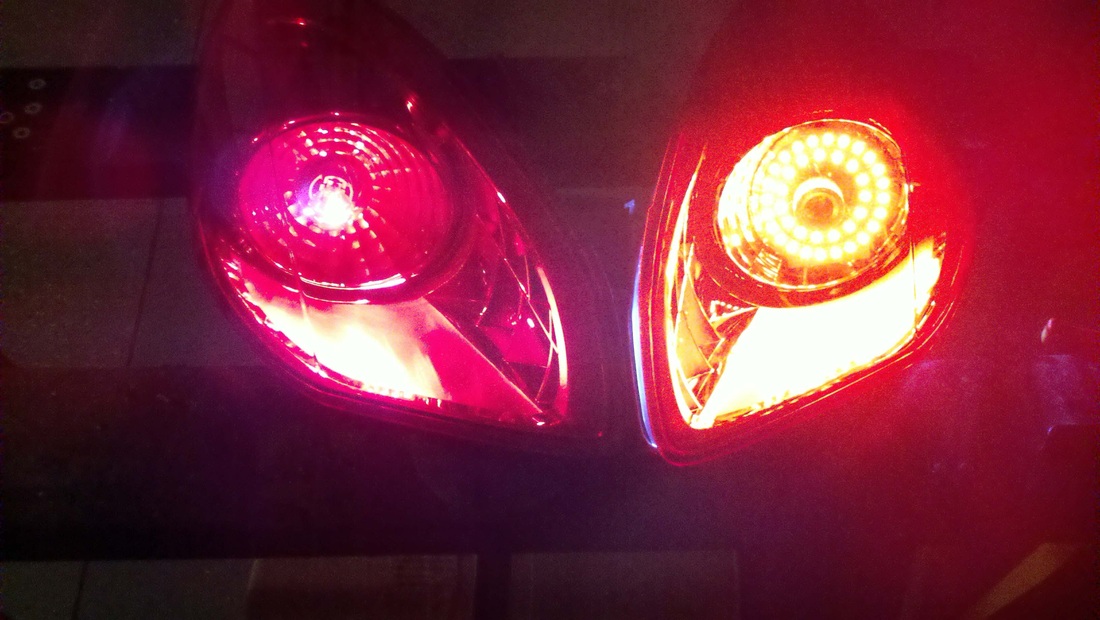
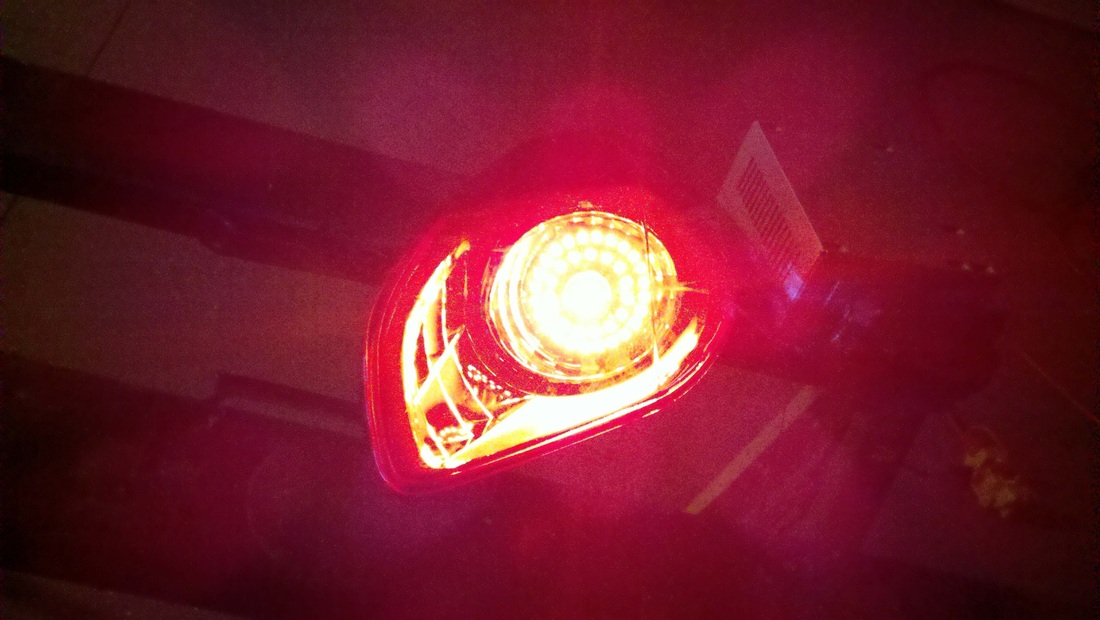
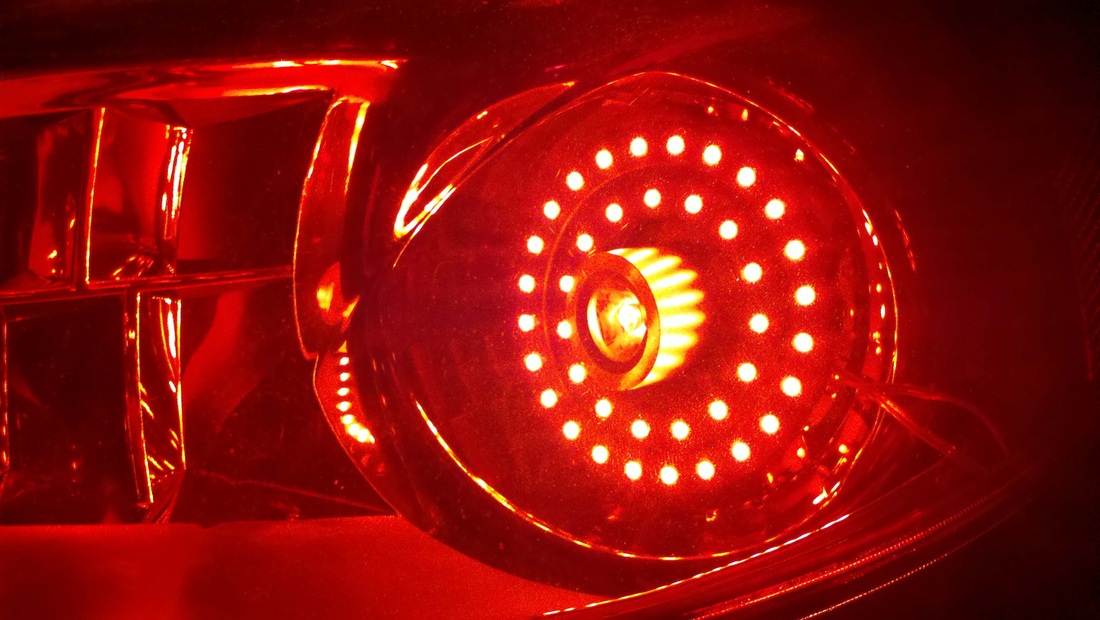
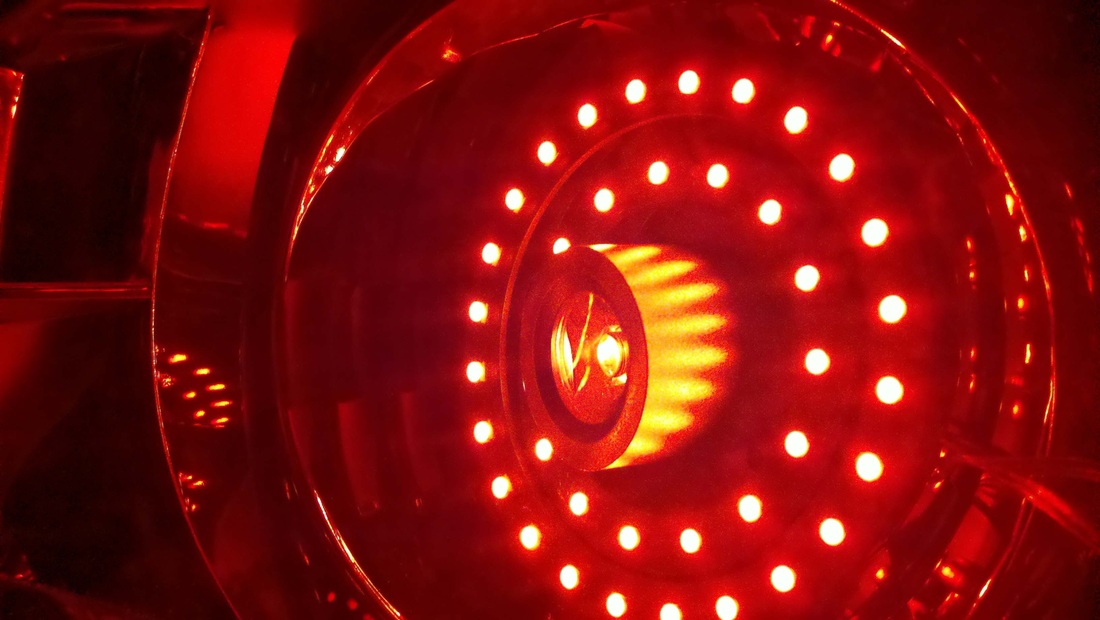
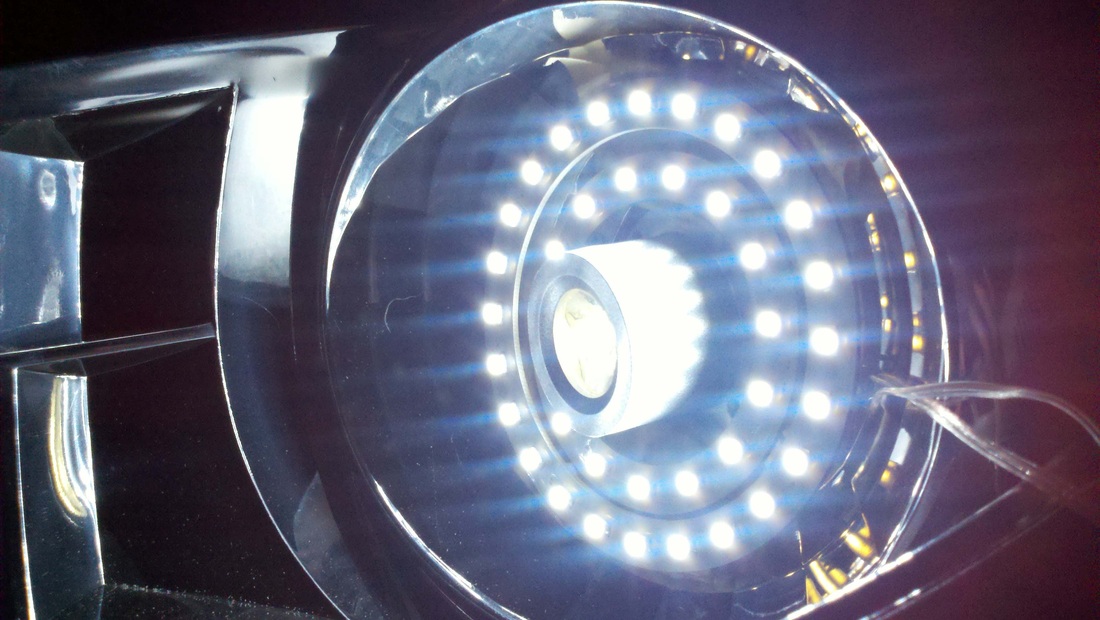
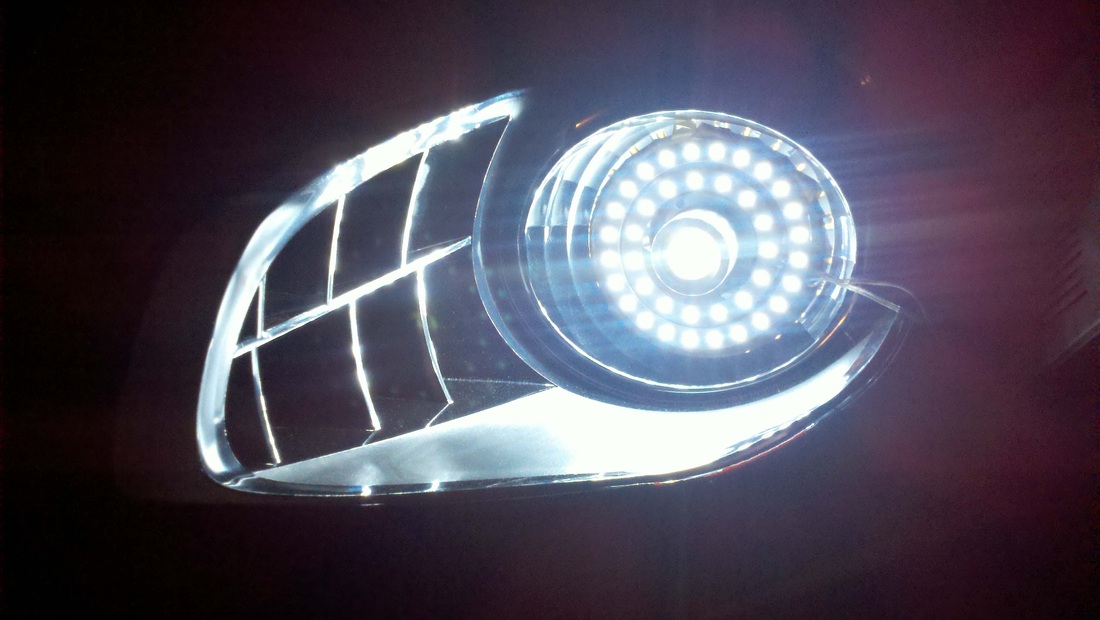
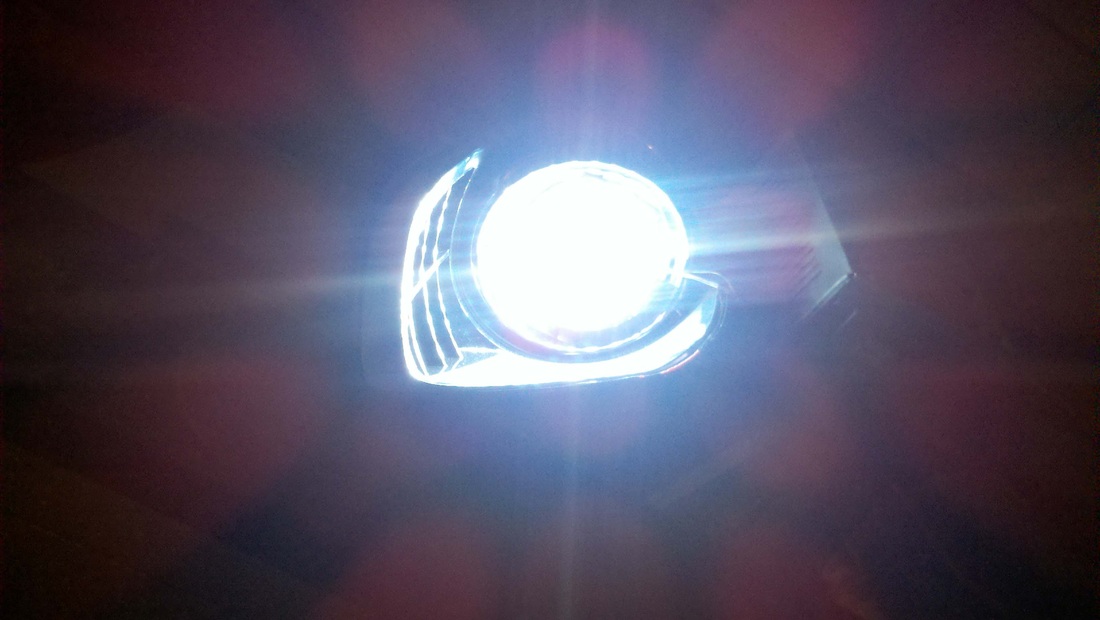
Owner sent me over some on-car pics of the headlights he purchased.......turned out great.
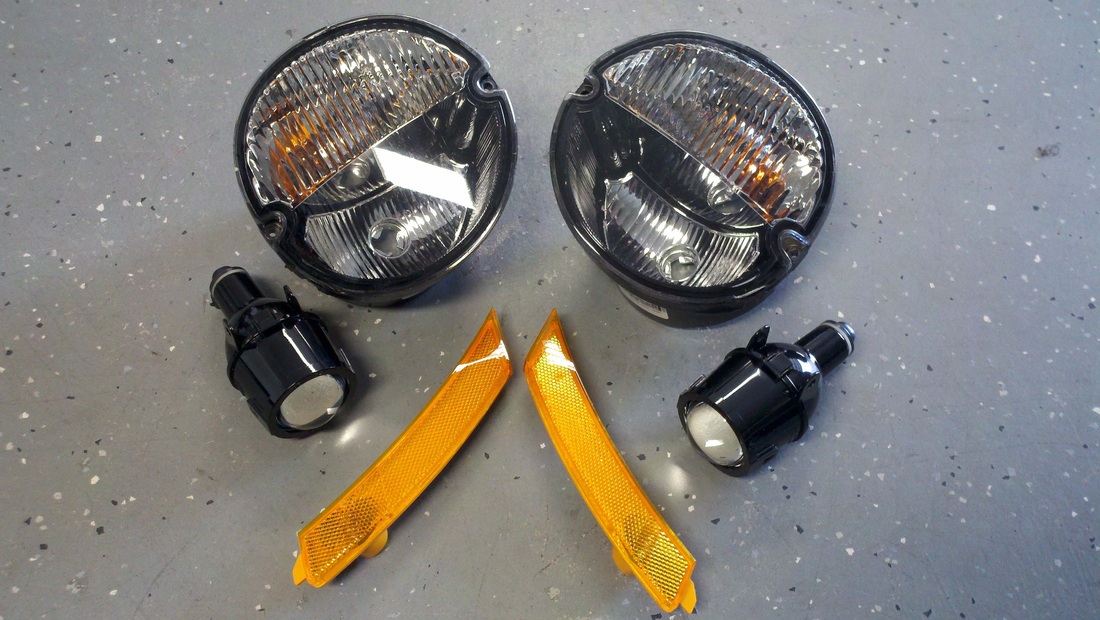
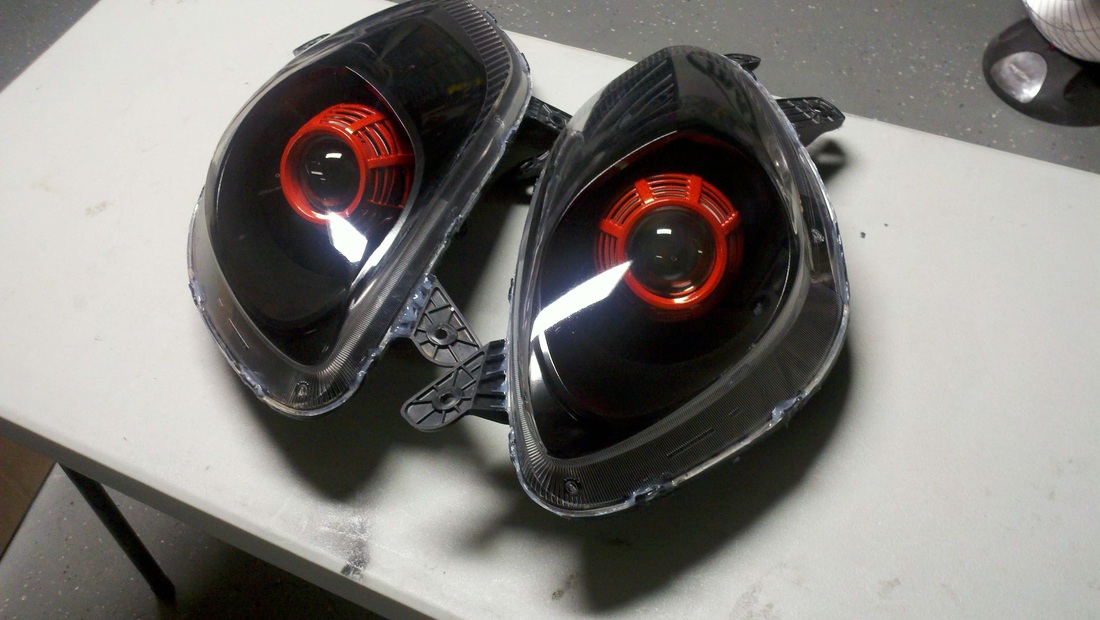
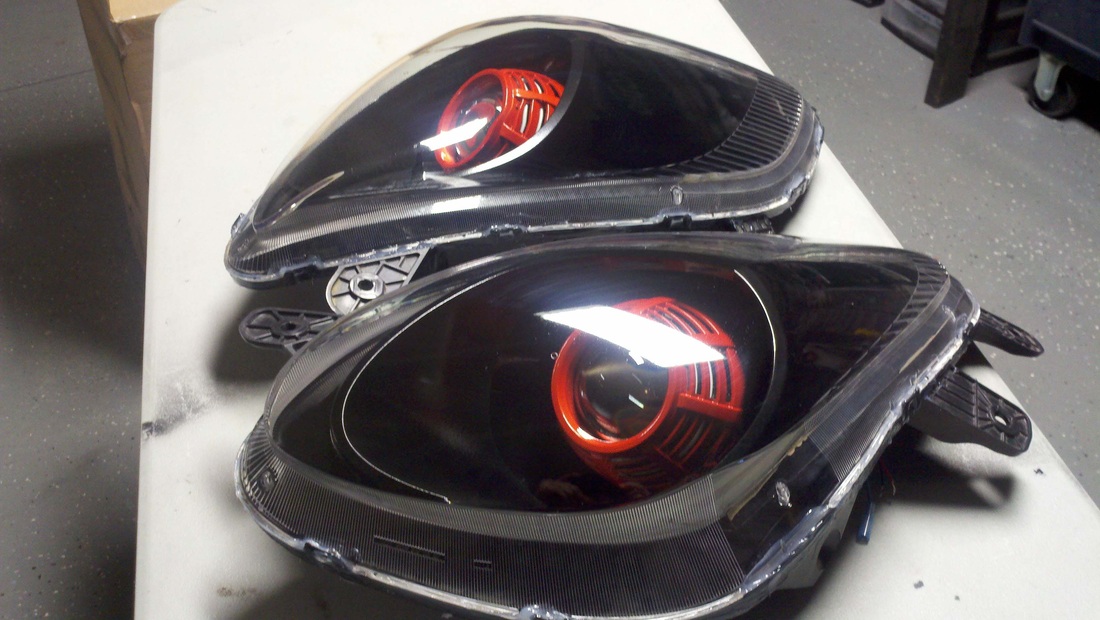
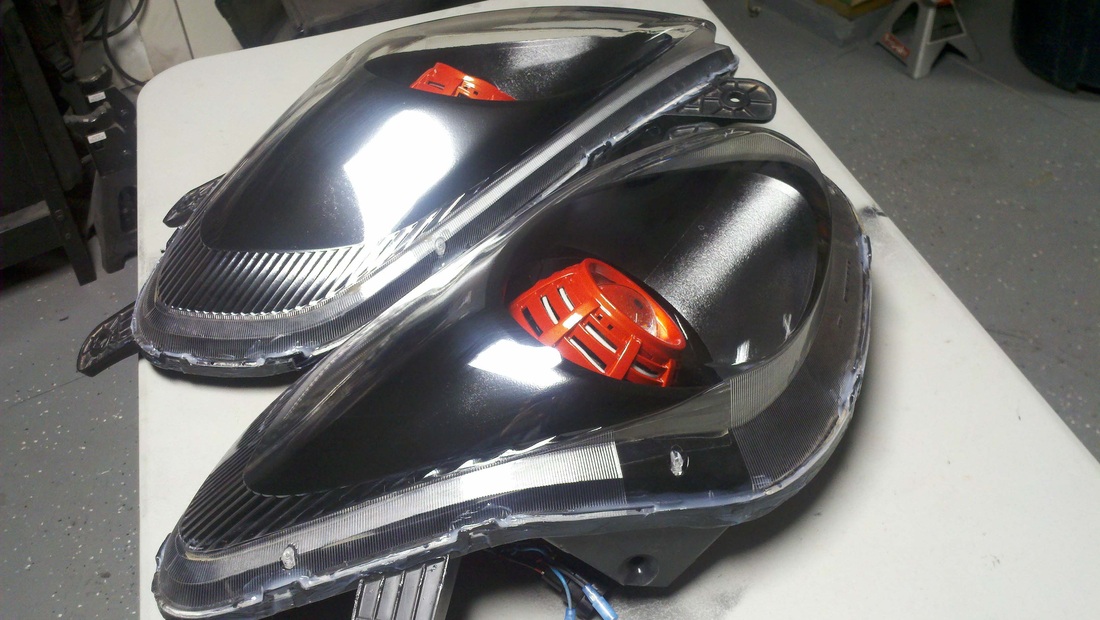
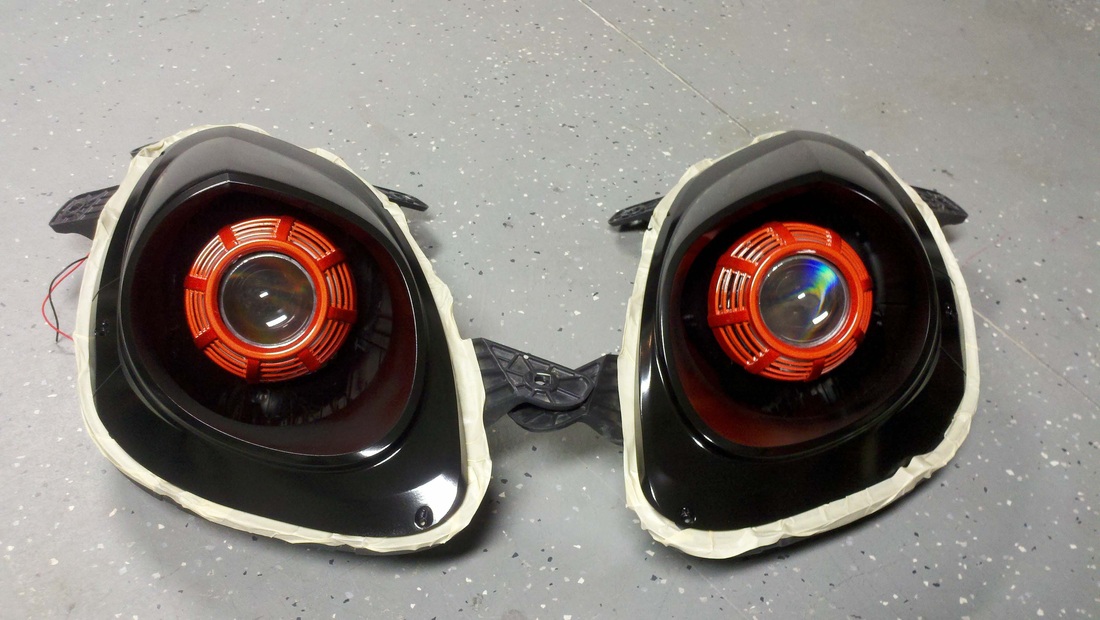
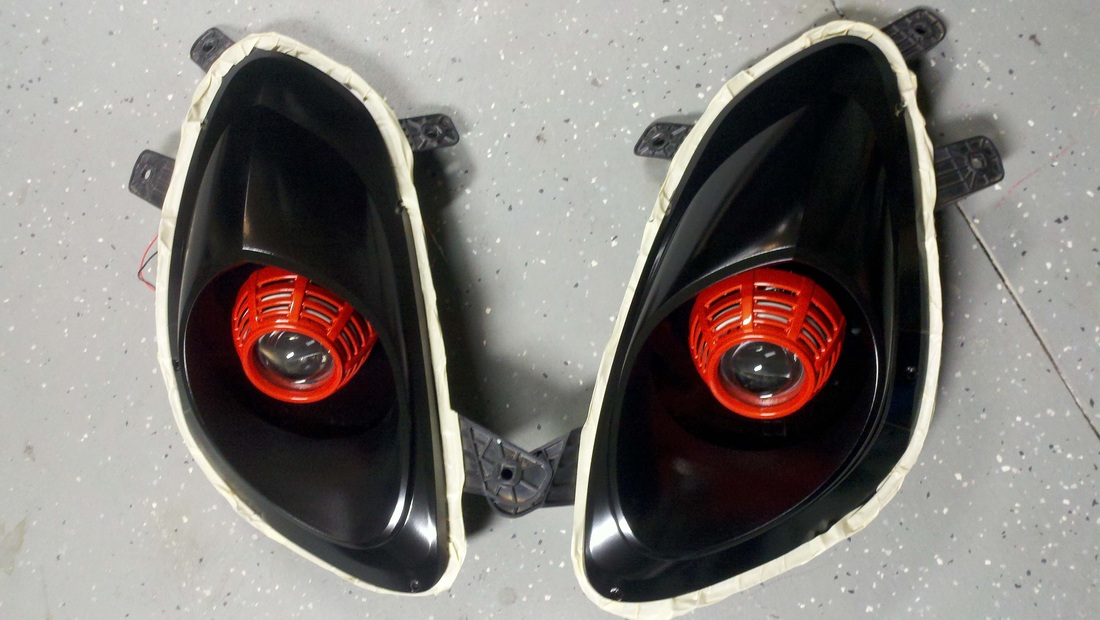
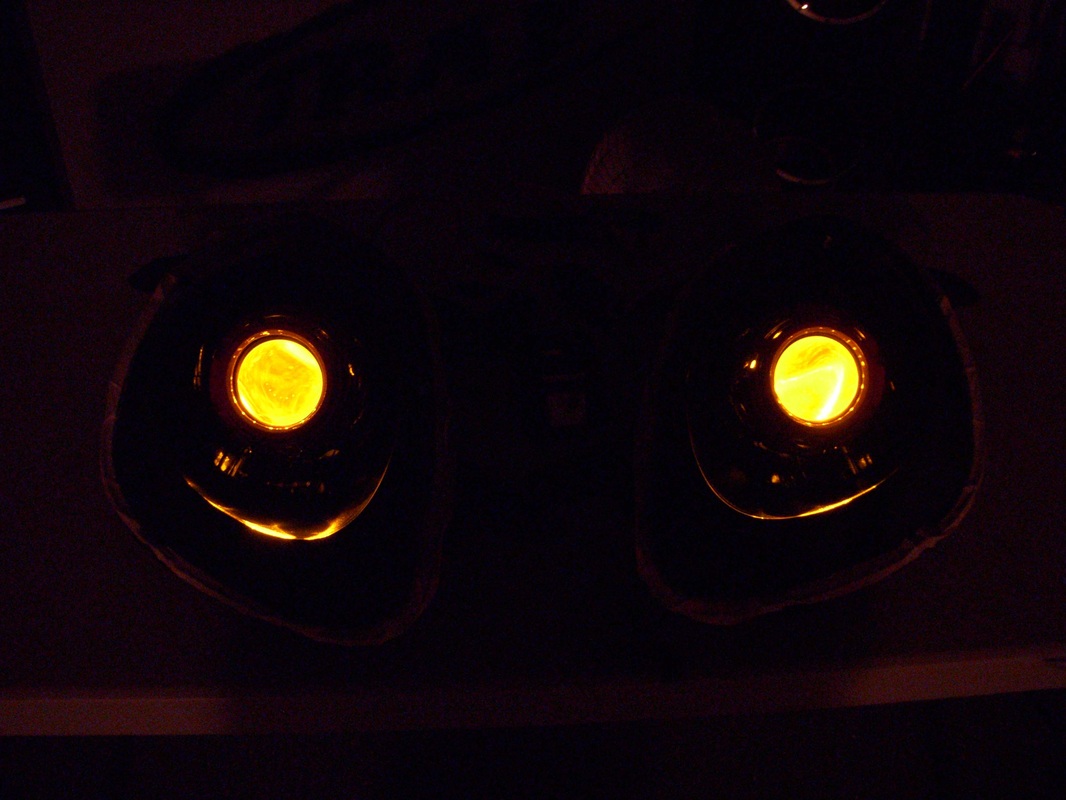
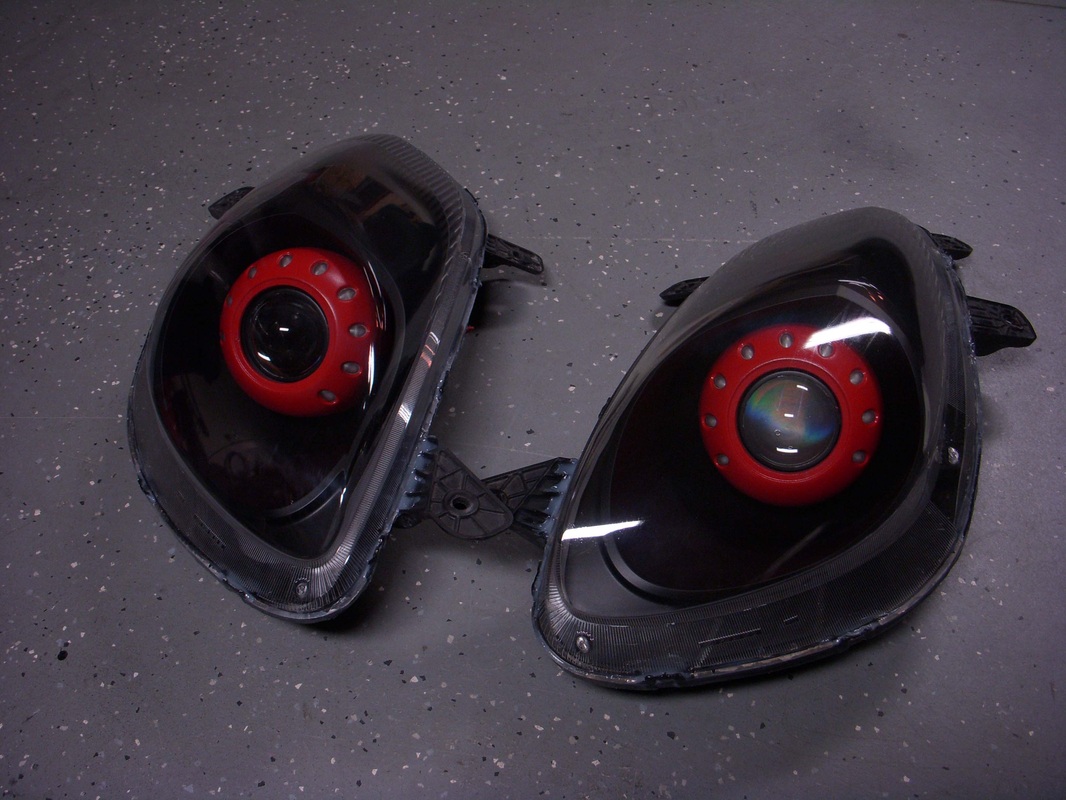
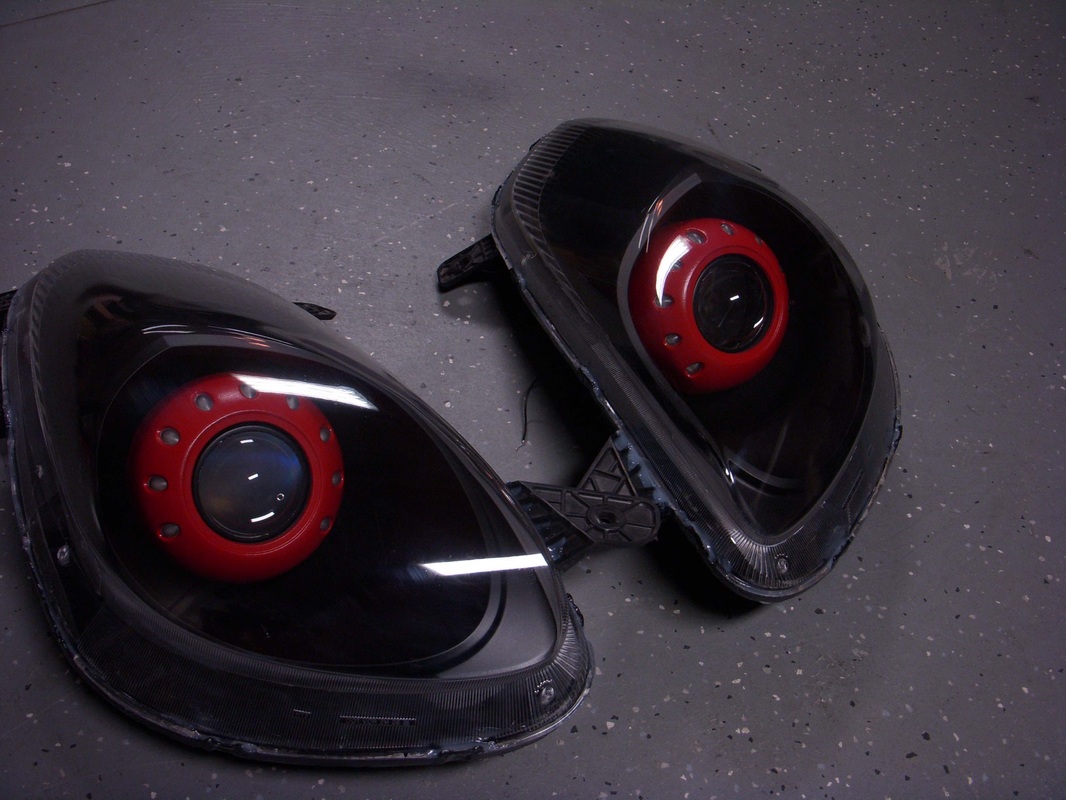
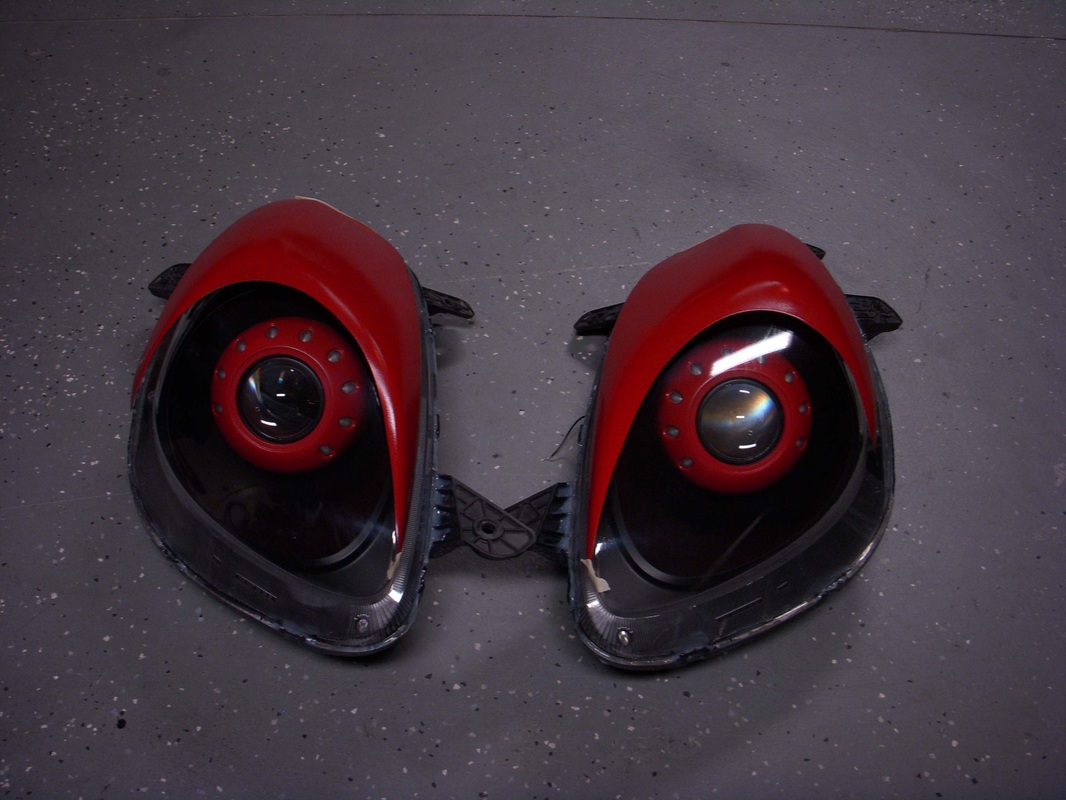
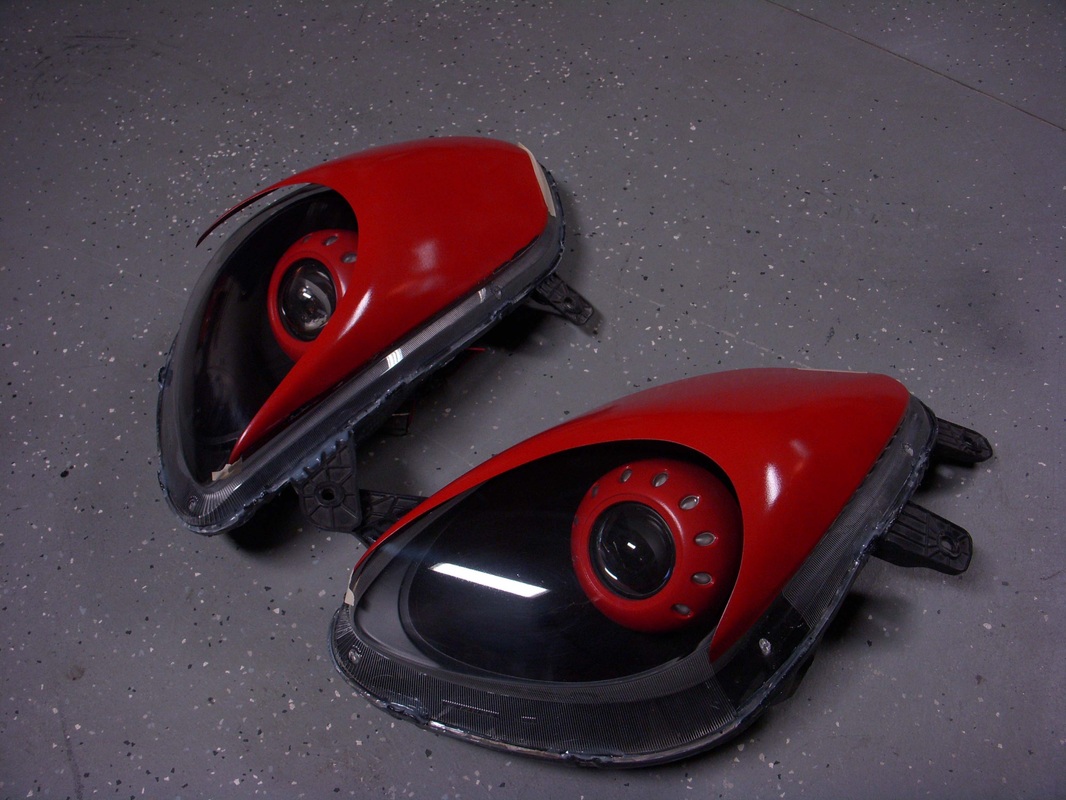
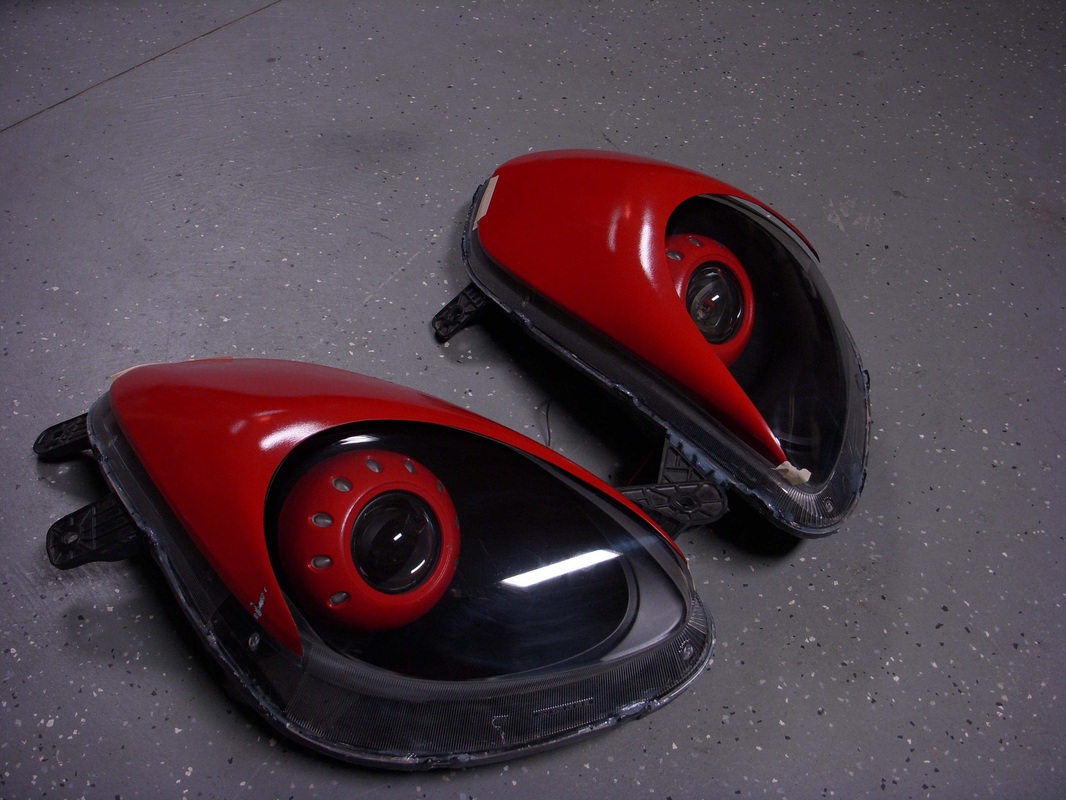
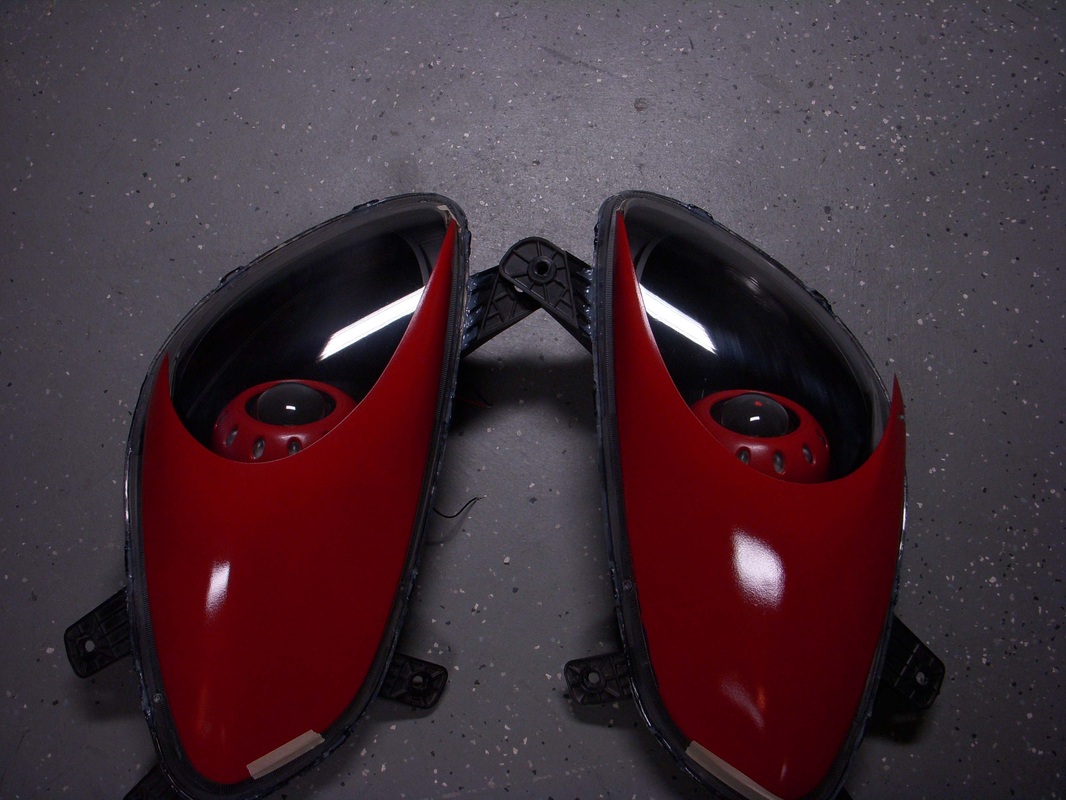
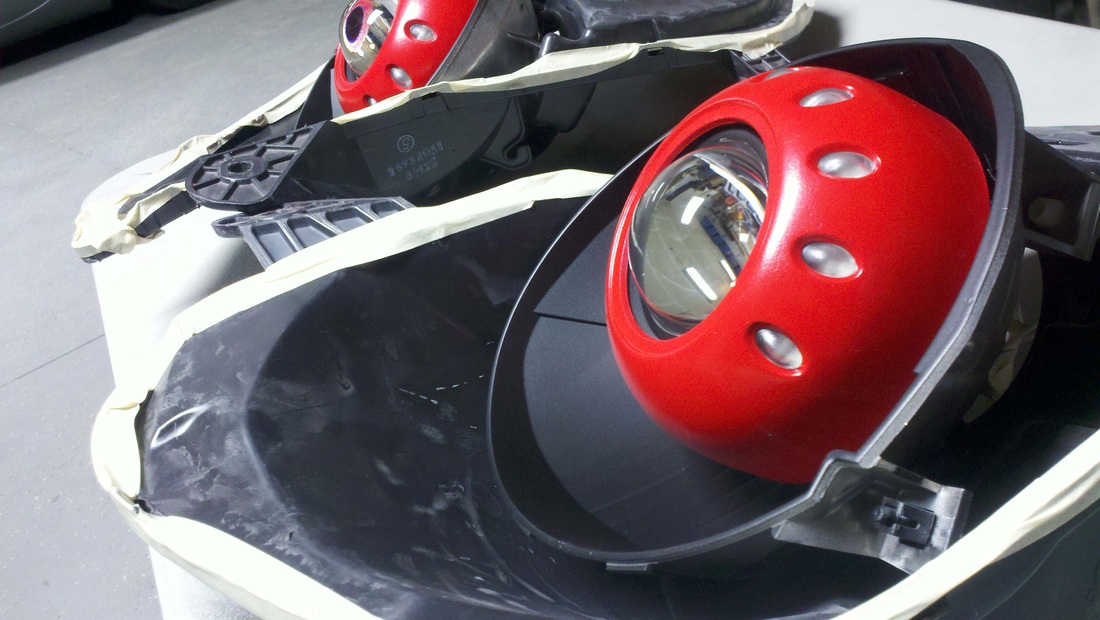
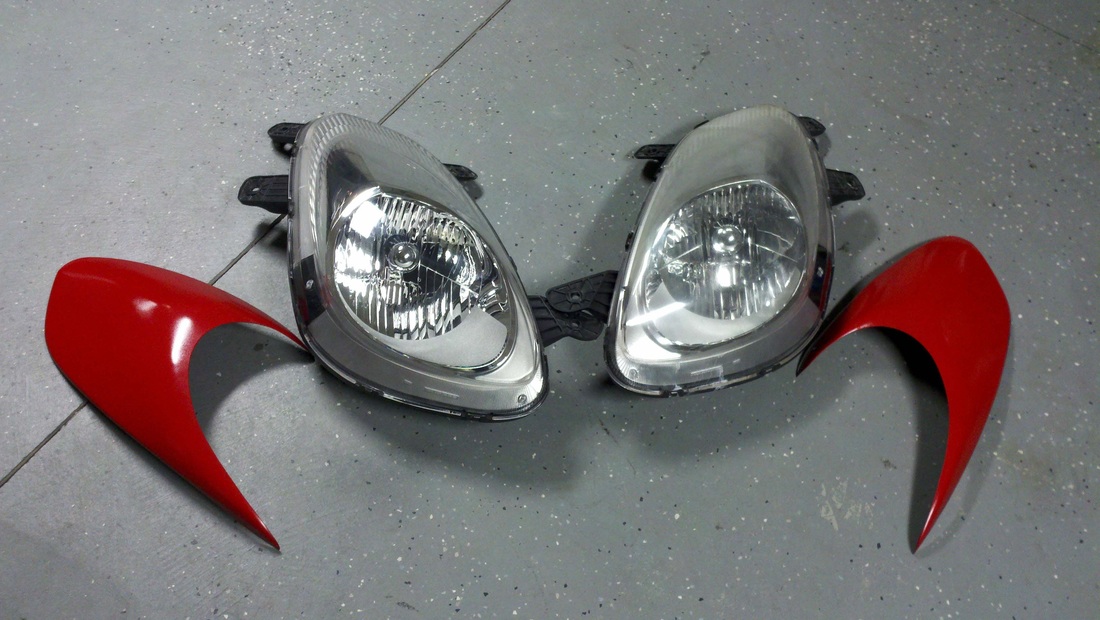
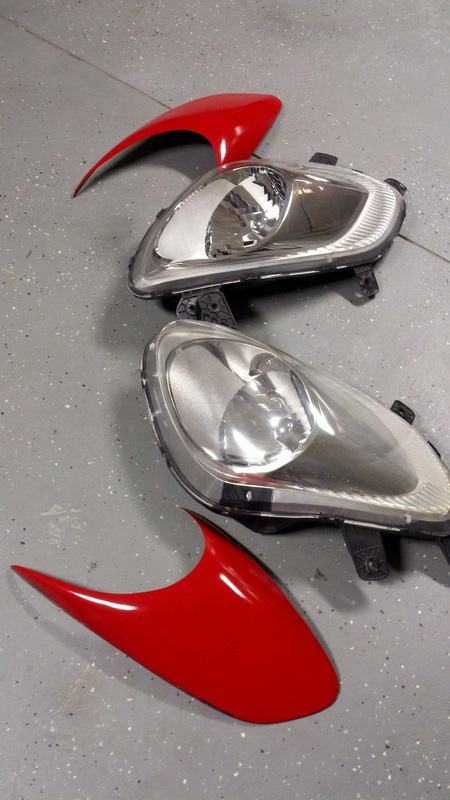
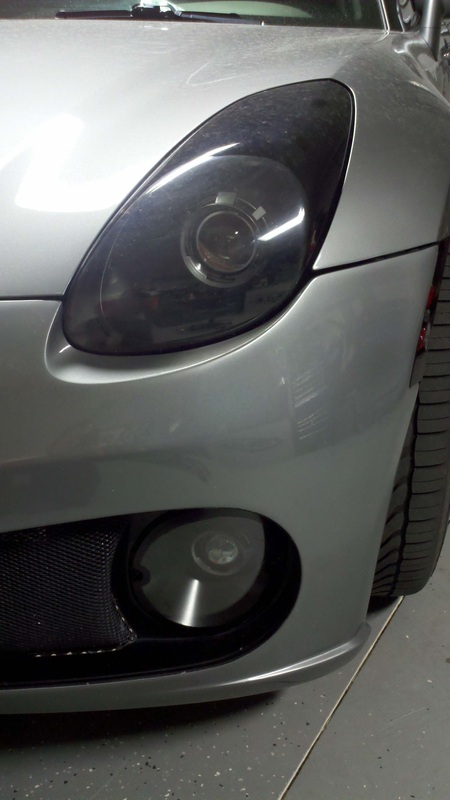
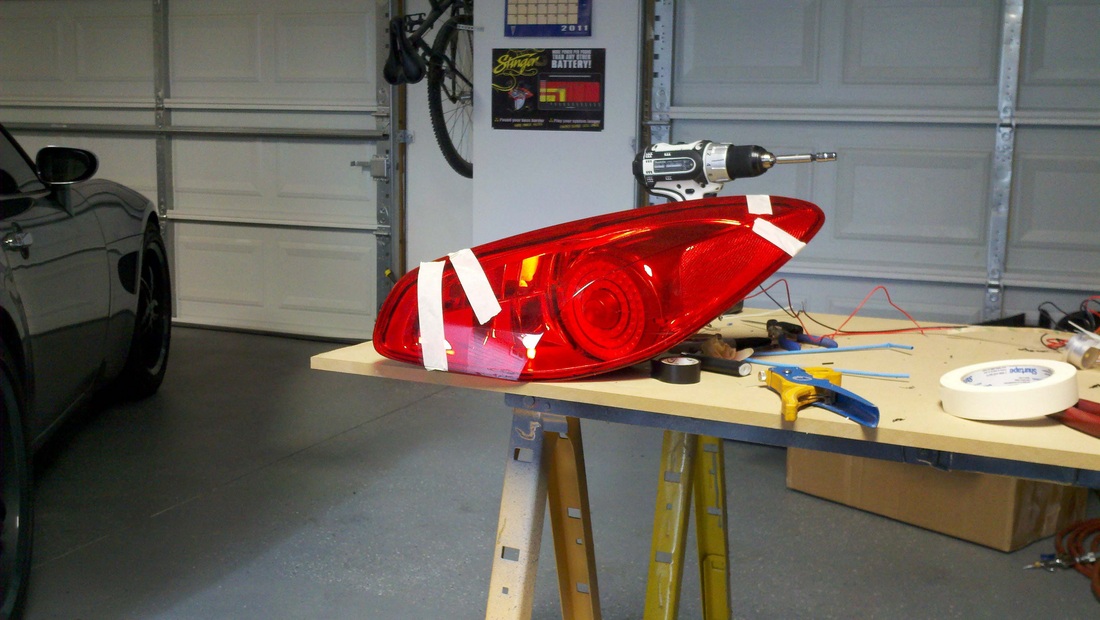
He's un-sure if he wants to re-install the red covers.....I'm 50/50 on that.....It think they look great as is.......thoughts????
He's un-sure if he wants to re-install the red covers.....I'm 50/50 on that.....It think they look great as is.......thoughts????


 RSS Feed